
Hey everyone! Today, I’m excited to walk you through the entire process of installing Fedora Workstation 41, one of the most popular Linux distributions for developers and enthusiasts.
Whether you’re new to Linux or a seasoned user, this guide will help you get Fedora up and running on your system.
I’ll also provide a quick overview of the operating system once the installation is complete. Let’s dive in!
Checking the Fedora Website
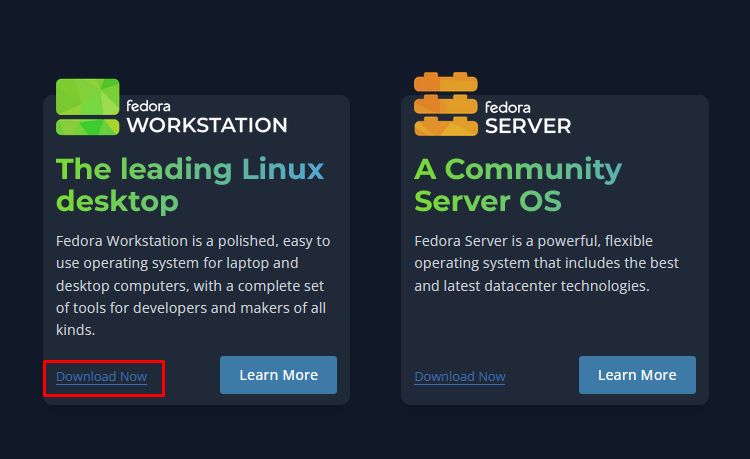
If you’re viewing this after the stable release has come out, my recommendation is to first take a look at the Fedora website’s main page. The latest version shows as version 41.

You can then click on that, and it will point you in the right direction for what to choose. In this case, you would choose Fedora Workstation, click on “Download Now,” and it will direct you to a download page.
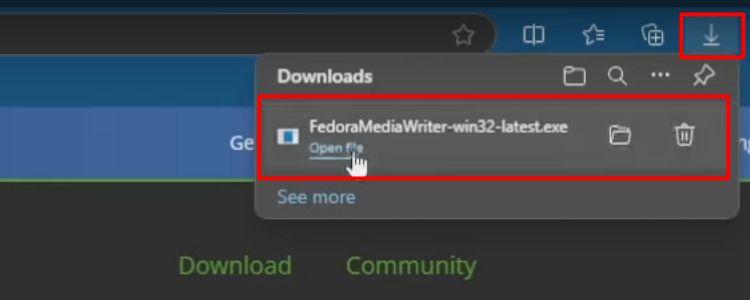
Download Fedora Media Writer for Windows, Mac, or Linux, depending on your operating system.
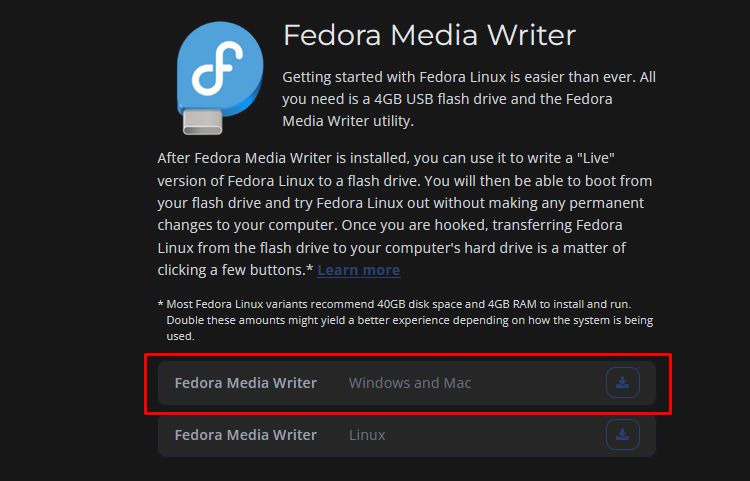
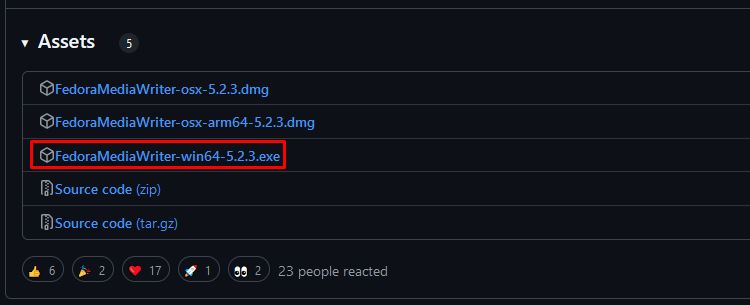
You need FedoraMediaWriter-win64-5.2.3.exe (or a newer version) for Windows.
The system requirements include a 40 GB SSD and at least 4 GB of RAM, both of which are standard. While lower-spec hardware can work, issues may arise. Any machine from the last 10 years with an SSD, 8 GB of RAM, and a dual-core processor should meet the requirements for Fedora.
Creating the Bootable USB Drive
For the installation, we’re going to use a USB thumb drive to create the bootable media. I recommend using at least an 8 GB thumb drive to ensure there’s plenty of room.
- Click on the download button, open the file FedoraMediaWriter.
- Click “Yes” for the UAC prompt.
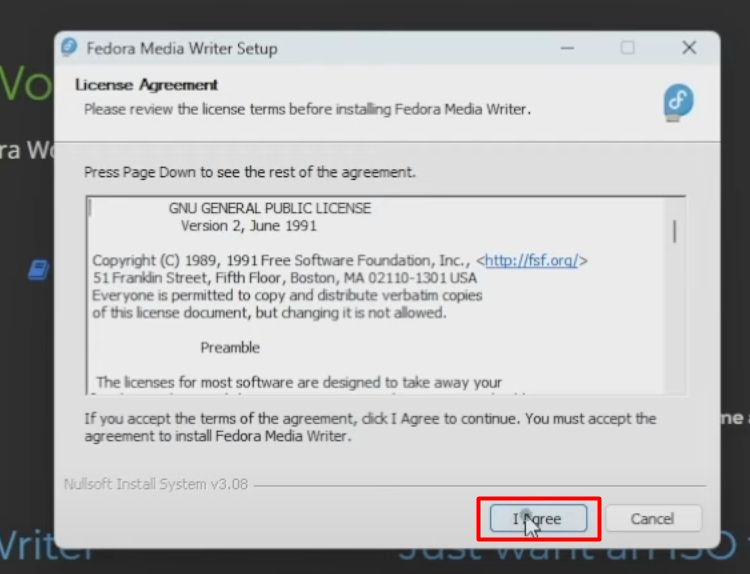
- Next, click “I Agree” to proceed.
- Click “Install.”
Be patient while it installs. After this, click “Next” and leave the option for “Run Fedora Media Writer” checked, then click “Finish.”
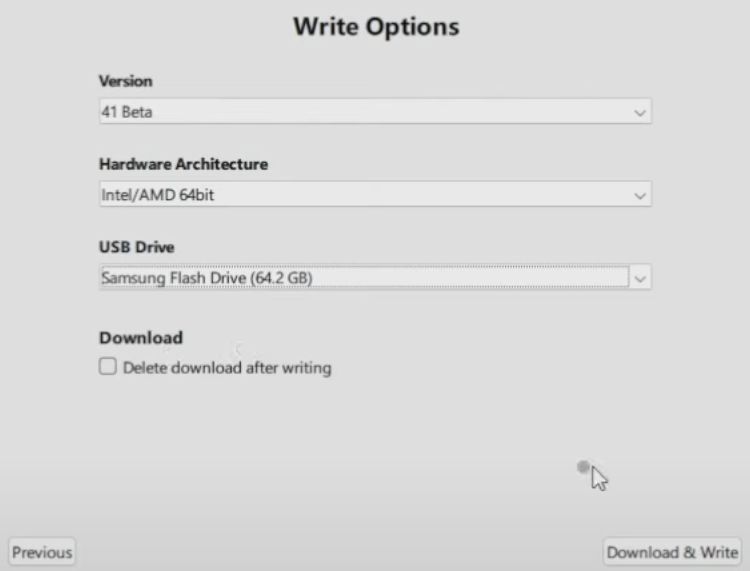
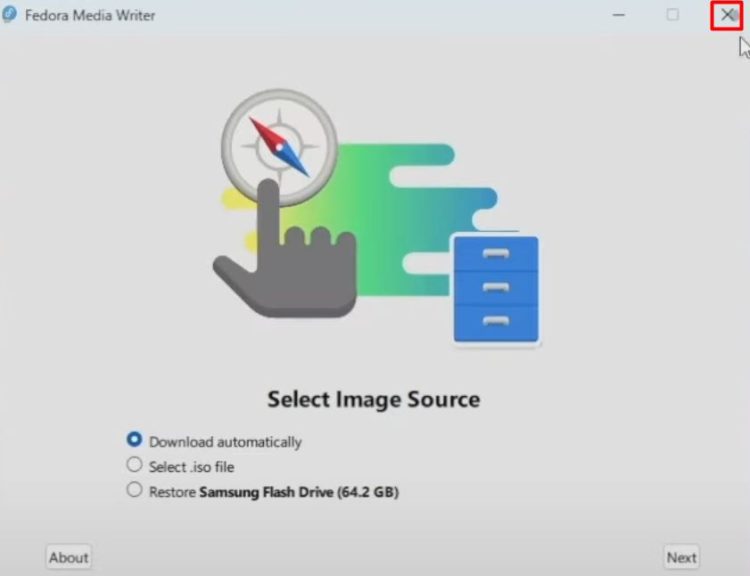
By default, it should automatically check the download option for the image source. I’ll click “Next,” leaving everything else as it is, with the “Official Editions” and “Fedora Workstation” selected. If version 41 has been released as stable, it should automatically select it. You also have the option to choose a different hardware architecture, such as ARM, but today I’m using the x86-64 architecture for Intel/AMD 64-bit.
Downloading and Writing Fedora to the USB
Now, plug in your USB thumb drive if you haven’t already. It should show up here. You’ll have the option to delete the downloaded file after writing, but I’ll leave it as is for now and manually delete it later. Click on “Download and Write,” and be patient while it downloads. The download size is about 2.2 GB, so it will depend on your internet connection speed and USB port performance.
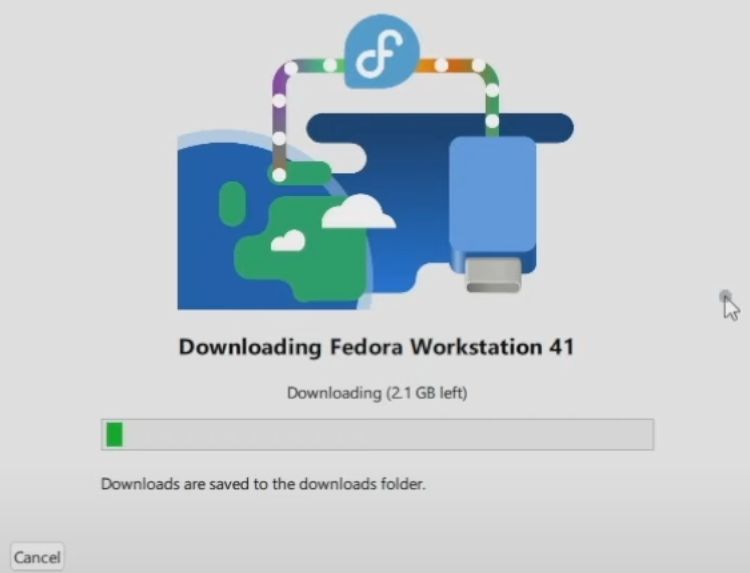
If, for some reason, the app closes during the download, it’s usually due to a network issue. If that happens, just reopen the app, and it will resume where it left off. Once the download is complete, it will start writing to the USB drive. Afterward, it will check the data to ensure everything is written correctly. If everything goes well, you should see a message saying Fedora Workstation 41 has been successfully written to the USB drive.
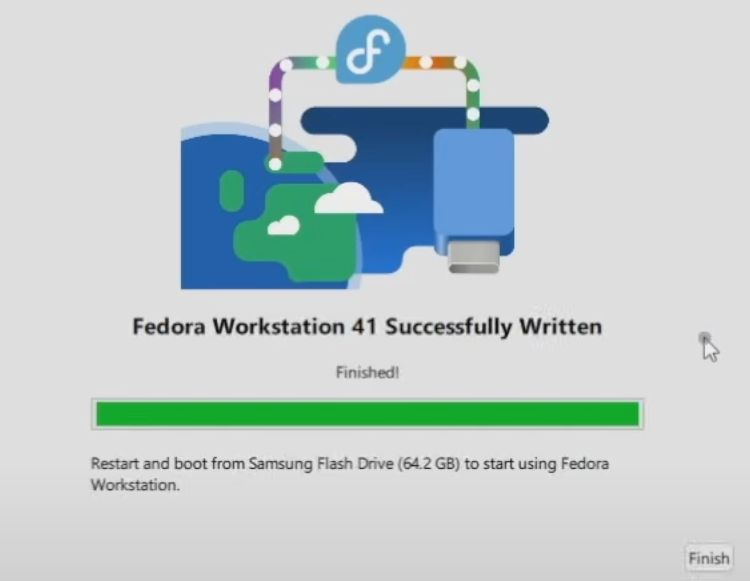
If you encounter any errors, you can always click “Retry.” Sometimes, it may show an error like “Failure to lock the drive,” but clicking “Retry” often resolves the issue. Worst case, you can manually format the drive and repeat the process. Once it’s finished, click “Finish” and close the window.
Booting from the USB Thumb Drive
Before moving to the next step, ensure you back up any necessary data on the machine where you’ll be installing Fedora 41. After backing up your data, it’s time to boot from the thumb drive. This part can be tricky, as every machine has a different key sequence to access the boot menu. Common keys are F2, F3, F4, F5, F6, F8, F10, F12, or the Delete key. I recommend Googling your machine’s make and model to find the exact key sequence.
For my Lenovo desktop, it’s the F12 key, so I’ll reboot my system with the thumb drive plugged in and keep pressing F12 to open the boot menu. Once the boot menu appears, I’ll select the USB hard disk drive (USB HDD), which is my Samsung flash drive, and press Enter.

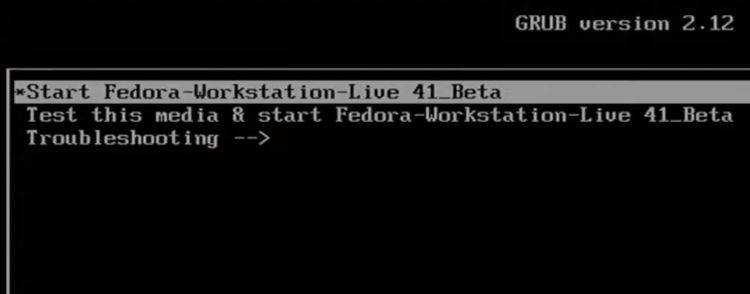
If you don’t press the up or down arrow key, the system will automatically count down and select the default option, which is to test the media.
For now, I’ll skip the media test and just choose “Start Fedora Workstation Live 41.”
Once the system boots, you should see the Fedora live environment loading up.
Installing Fedora Workstation 41
If you’re unfamiliar with live environments, this means Fedora is running off the USB thumb drive. While it’s a good way to try out the OS, it’s not ideal, as it’s running everything from the thumb drive, which may lead to sluggish performance. Everything is loaded into RAM, so any settings you change or files you create will be lost once you shut down or reboot. To really use Fedora, it’s best to install it.
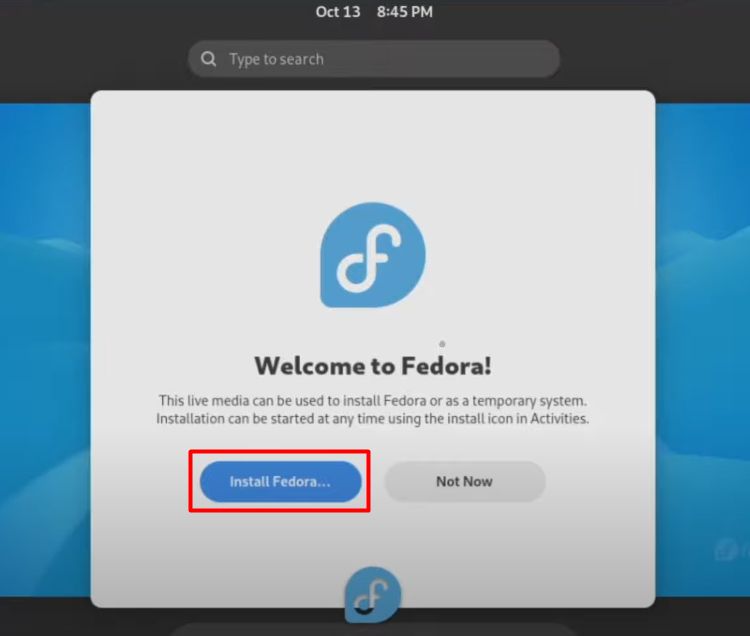
Once it’s loaded, you’ll see a popup saying “Welcome to Fedora.” This live media can be used to install Fedora or as a temporary system. Click on the “Install Fedora” icon to proceed. It may take a moment to open, depending on the speed of your USB drive.
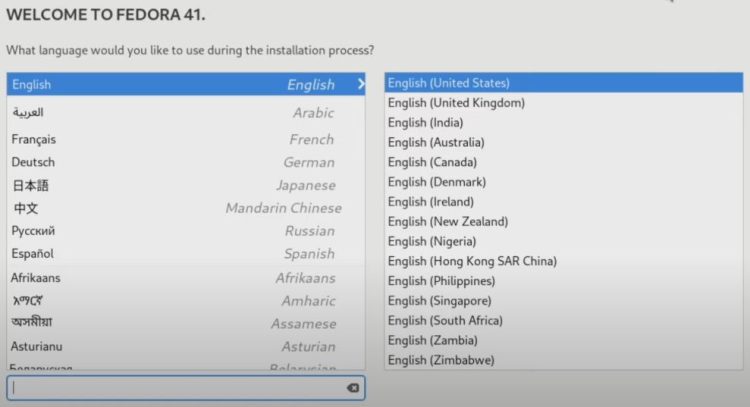
- On the left side, you’ll select your language. I’ll leave mine as English and set the location to “United States.” You can search for your language using the search bar, and once you’re ready, click “Continue.”
- Now you’ll have options to set your keyboard layout and time zone. I’ll leave mine as US English and set the time zone to automatic. You can configure NTP (Network Time Protocol) manually if you want, but I’ll leave it as is.
Finalizing Installation Settings
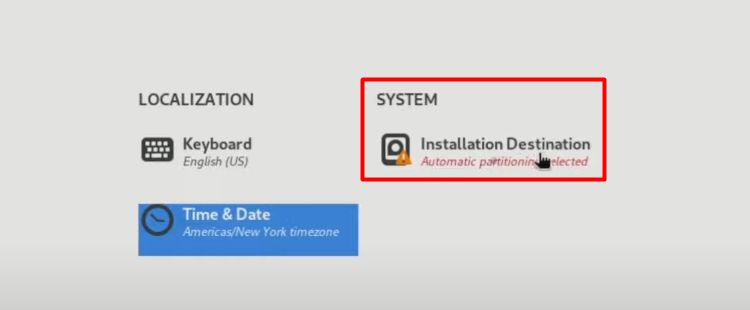
The next step is “Installation Destination,” where you’ll choose where to install Fedora. If you have multiple drives, they will appear here.
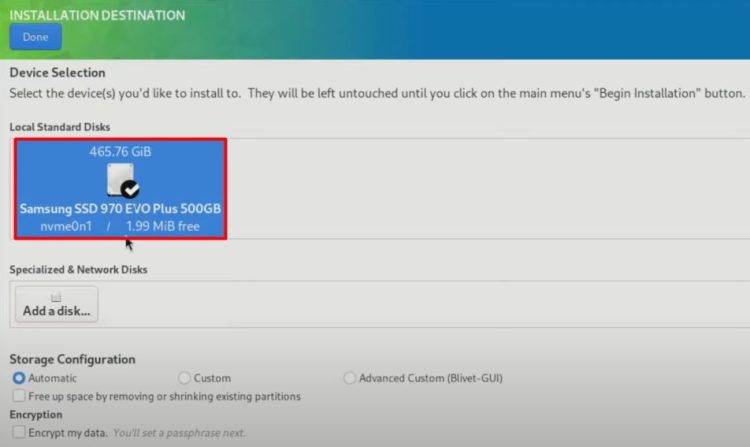
Since I only have one drive, I’ll select it, and the checkmark will appear next to it. You can also choose custom partitioning, but for simplicity, I’ll leave it set to “Automatic.” If you want to encrypt your data, you can check the box, but I’m leaving it unencrypted.
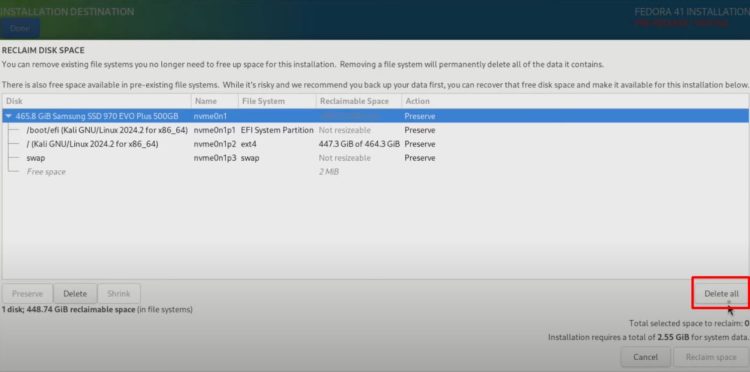
Once everything looks good, click “Done” in the top left. If you’re wiping the drive and there’s an existing operating system, Fedora will warn you that there’s no space available.
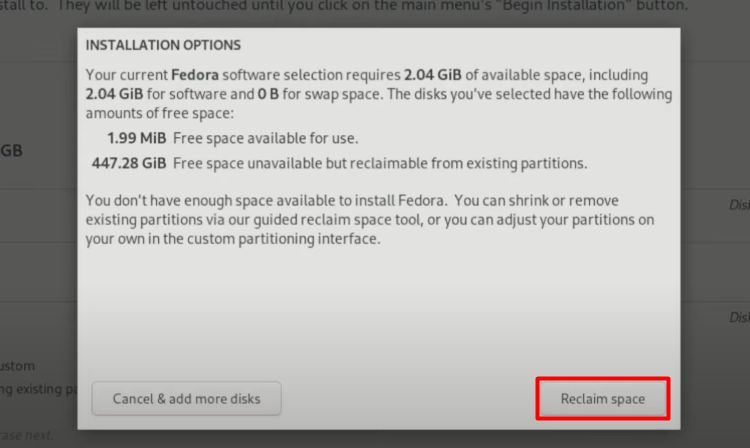
To reclaim space, click “Reclaim Space,” then select “Delete All” to erase everything on the drive.
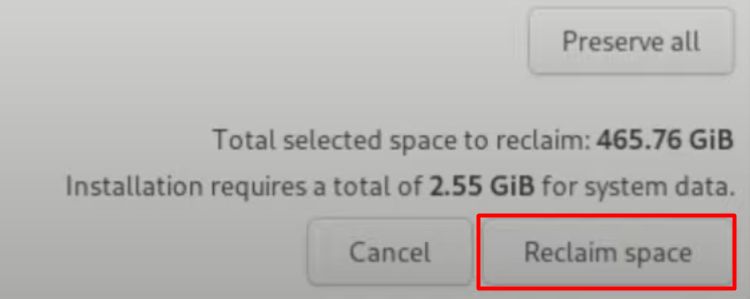
Once that’s done, click “Reclaim Space” again.
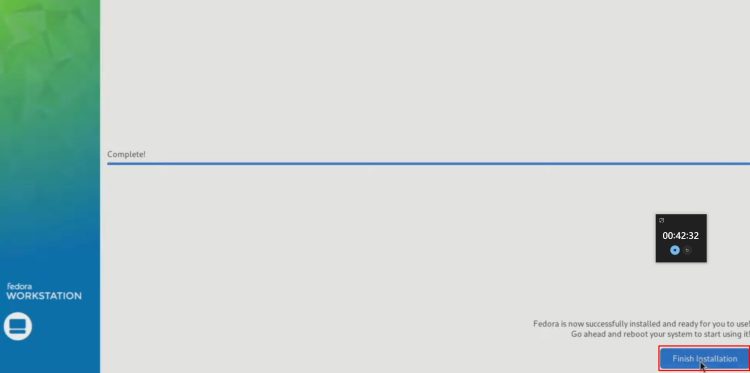
Now, click “Begin Installation” and be patient as it installs. Once complete, you’ll see a message saying Fedora has been successfully installed. Click “Finish Installation.”
Shutting Down and Removing the Thumb Drive
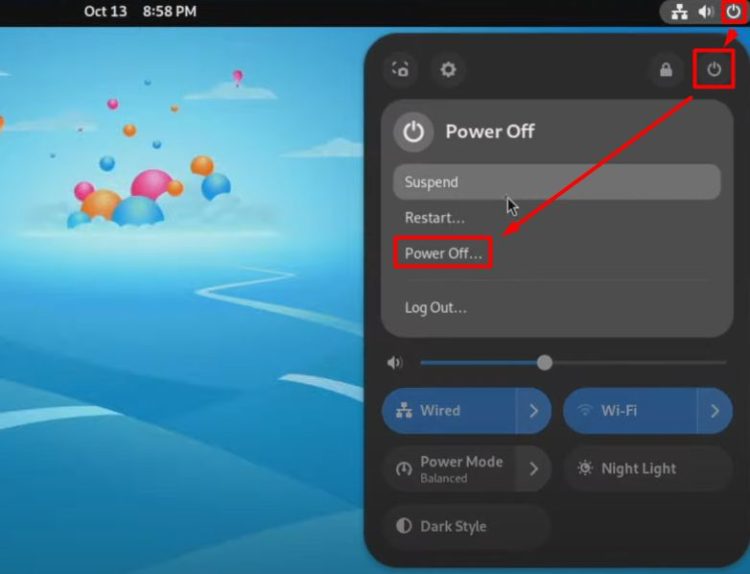
Next, I like to click on the power button in the top right and choose “Power Off” to safely turn off the system before removing the thumb drive.
Once the thumb drive is unplugged, turn the system back on. It should boot into Fedora. If you see an error message on startup, don’t worry—just make sure it boots correctly.
Initial Setup
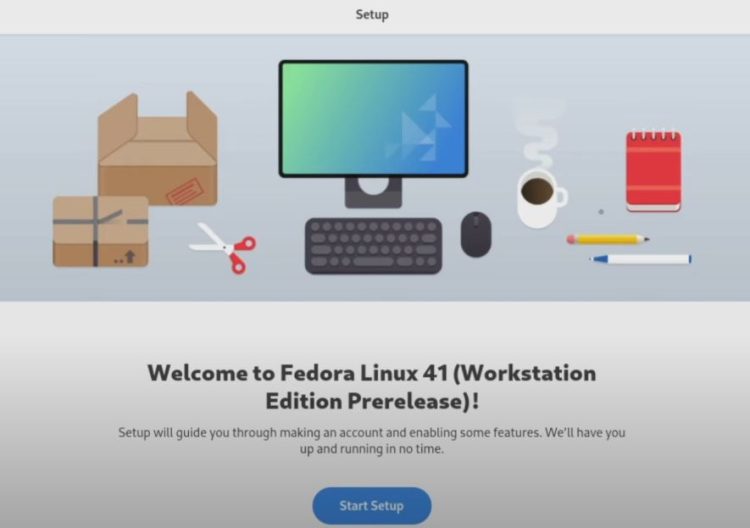
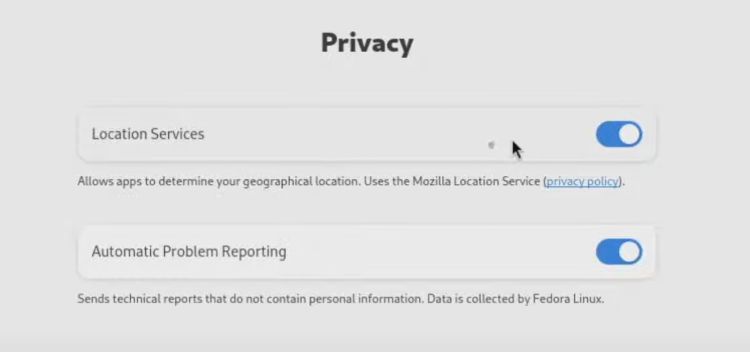
You should now be at the initial setup screen. Click “Start Setup.” If you have a Wi-Fi adapter, it will prompt you to connect to a network. Since I’m using a wired connection, I’ll click “Skip.” You can also enable location services, which is optional. For now, I’ll leave it on, but you can toggle it off if you prefer. The same goes for “Automatic Problem Reporting.”
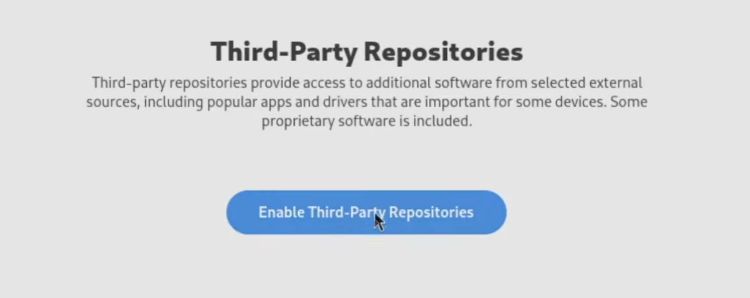
Next, you’ll have the option to enable third-party repositories. These provide access to additional software, including proprietary software. If you enable them, click the checkbox. Once enabled, click “Next.”
Creating a User Account
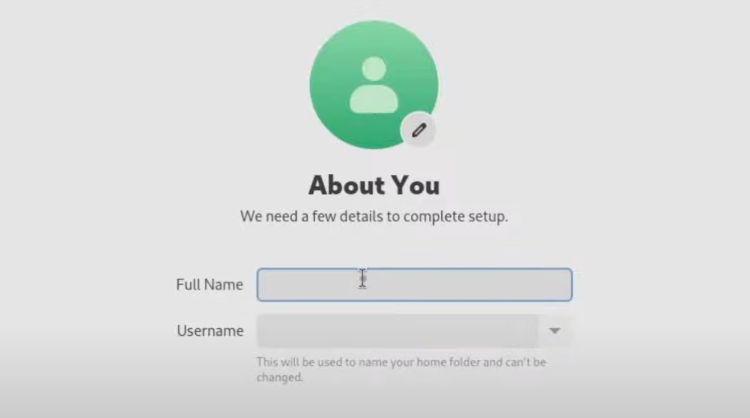
Now, you’ll be prompted to create a user account. You can also change the profile icon if you like. Once that’s set, click “Next.”
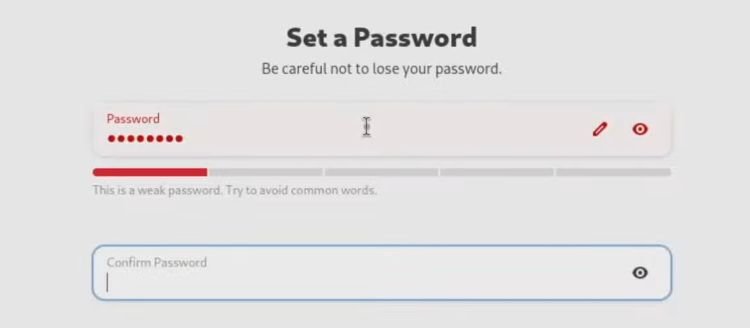
Now, set a password for the account. Make sure it’s strong.
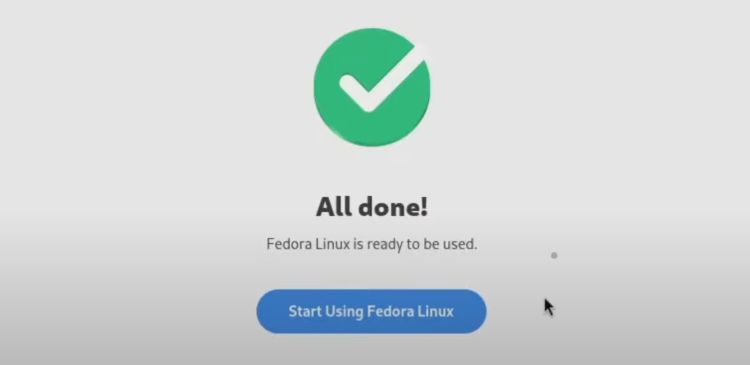
Click “Next,” and once everything is ready, it will say “Fedora Linux is ready to be used.” Click “Start Using Fedora.”
Conclusion
And that’s it! You’ve successfully installed Fedora Workstation 41 and completed the initial setup. Fedora is a powerful, user-friendly operating system that’s perfect for both beginners and advanced users.
With its cutting-edge features and robust performance, it’s an excellent choice for anyone looking to explore the world of Linux. If you have any questions or run into issues during the installation, feel free to leave a comment below.
Happy computing with Fedora!