
In this article, I’m going to show you how to boot Kali Linux from a USB flash drive. This is a Windows laptop, but I’ve booted it from the USB flash drive.
Not only that, I’m going to show you how to enable persistence — in other words, set up this USB flash drive so that changes you make survive reboots. This is a Windows 11 laptop. Alright, without further ado, let me show you how to boot Kali off a USB flash drive while also enabling persistence.
Required Software
I’ll insert the flash drive into my computer. To install Kali, you need two pieces of software. First, you need to download Kali from Kali.org.
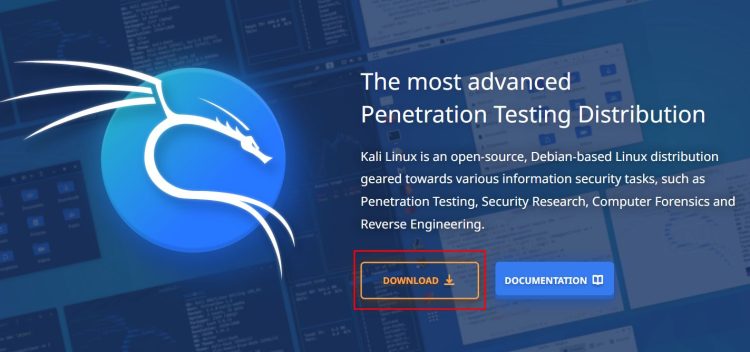
We’re not going to download the installer images or virtual machine versions. What we’re going to download here is the live boot image. We don’t want to install Kali on the laptop.
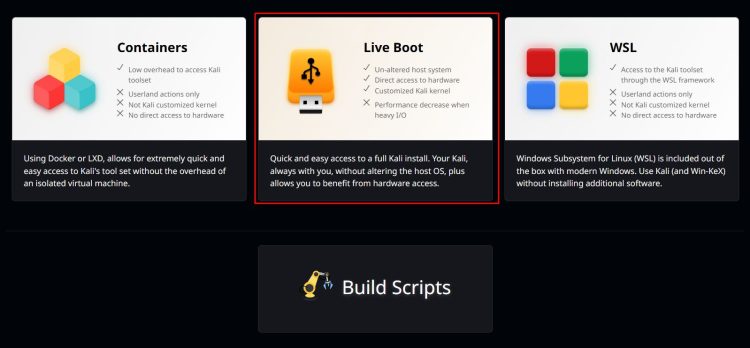
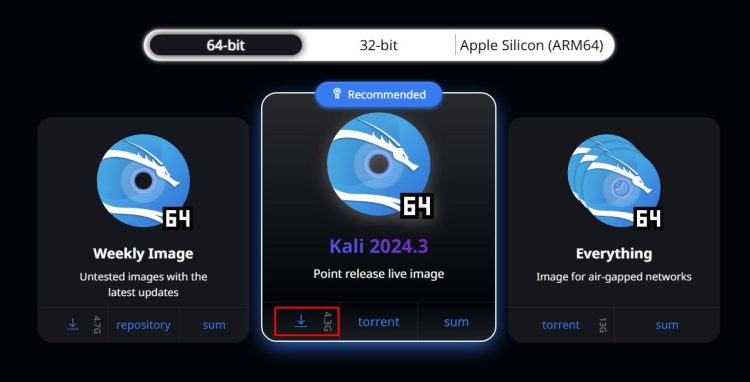
Instead, we’ll download the live image, which is about 4.3 GB in size.
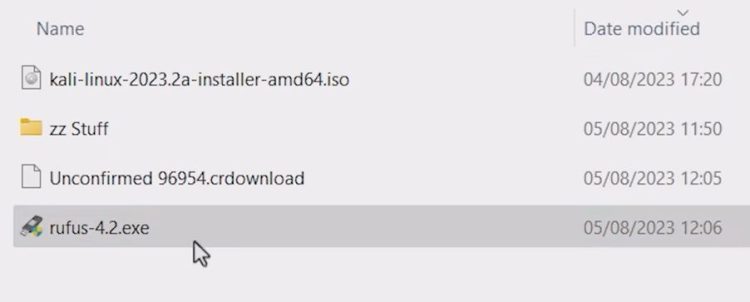
The second piece of software you need is something to write that image to the USB drive. There are multiple options for this, but in this example, I’ll download Rufus from Rufus.ie.

I’ll scroll down and download the .exe file, which is about 1.4 MB in size.
Setting Up Rufus
The process is fairly simple: download these two pieces of software, then run Rufus.
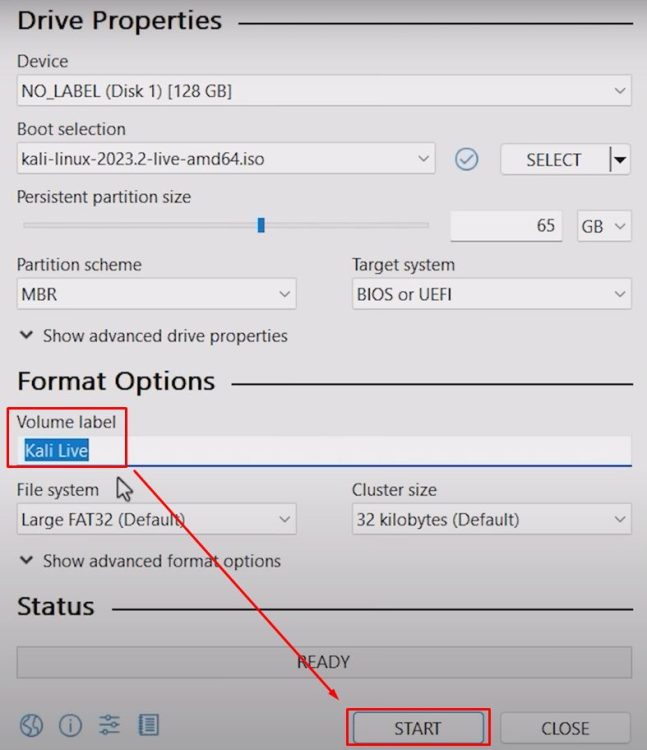
First, select your USB drive—in my case, a 128 GB USB flash drive.
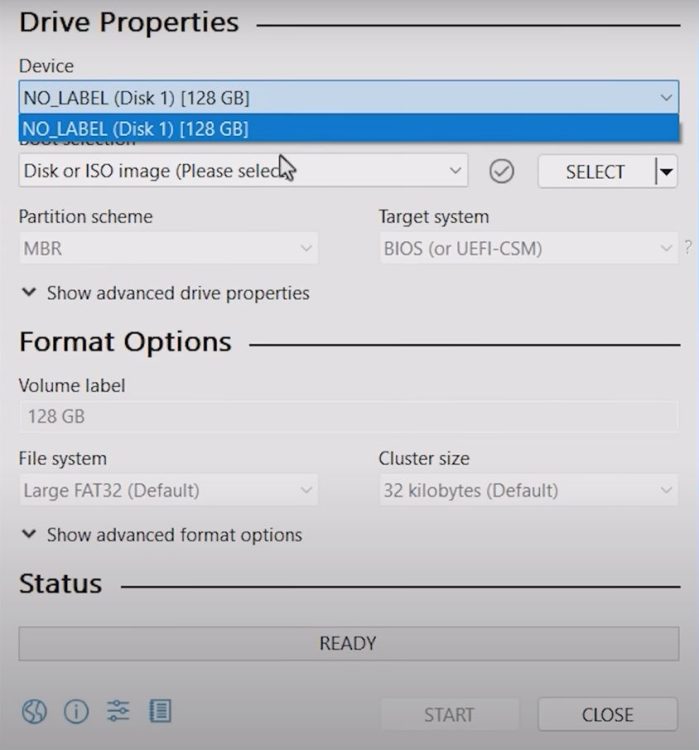
Then, select the ISO image.
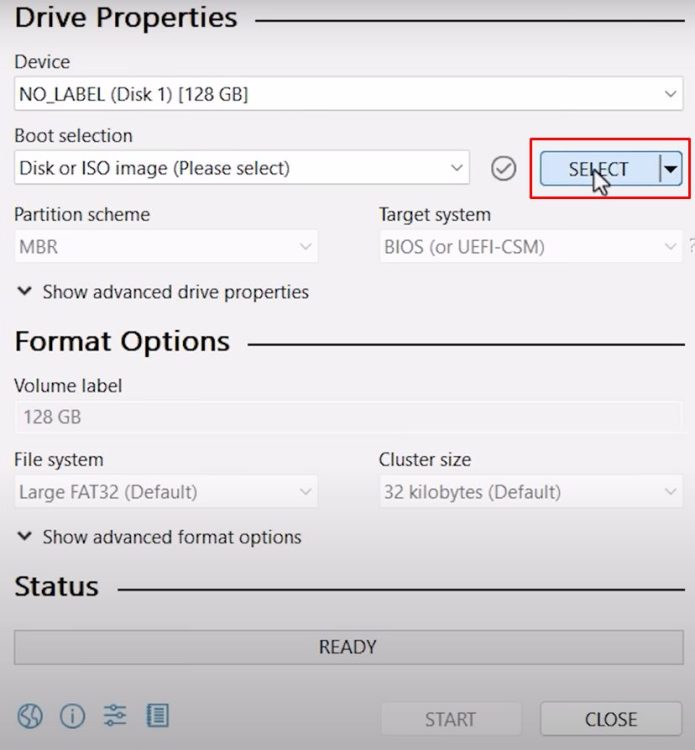
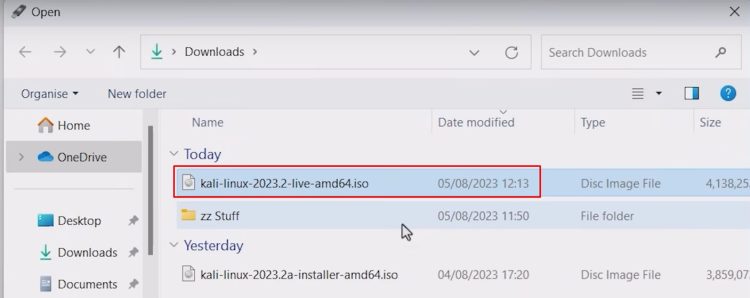
Make sure to choose the correct image.
And this is the important part: set your persistent partition size. You could set it to a larger size, but for this example, I’ll set it to 65 GB, approximately half of the USB flash drive.
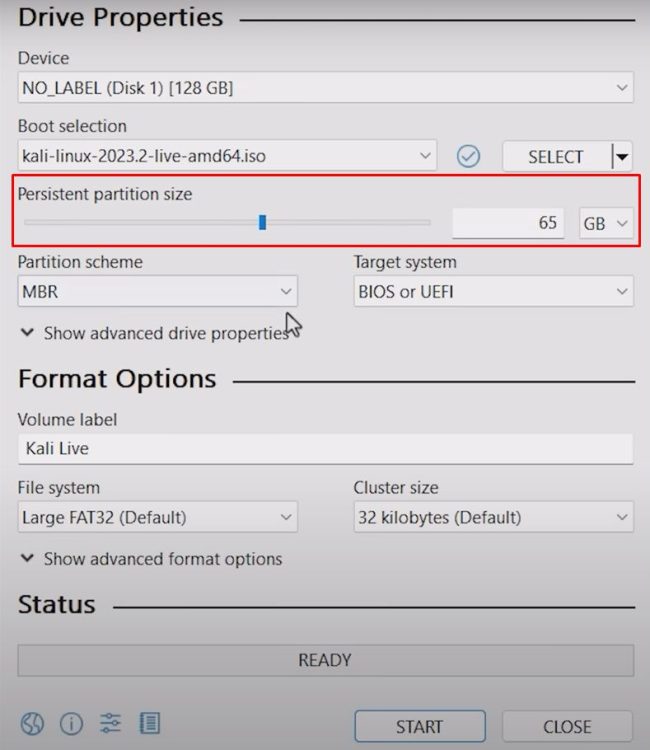
You can also give the volume a name; I’ll leave it as the default, “Kali Live.” So again, select your USB flash drive, specify the live image, and then click “Start” to begin the installation.
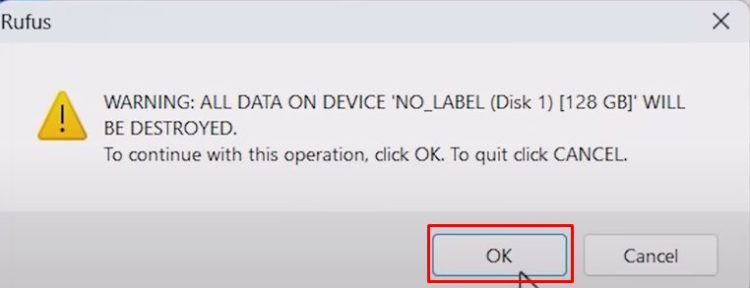
You’ll be warned that all data will be removed from the drive, which is fine, so I’ll click OK.
Installation Process
The USB flash drive is now being formatted, and then the installation will start. The last time I did this, it took about 18 minutes, so now’s a great time to get a coffee or do something else. Basically, you just need to wait for the installation to complete.
Alright, there you go, it’s completed. It took about 25 minutes. Now, we can close Rufus and reboot the computer. You have two options here.
I’m going to restart the computer while holding down the Shift button and then click “Restart.” You don’t have to do this—you could just press the special key to reboot the computer into the BIOS.
Configuring BIOS Settings
Alright, here we are. I’ll go to Troubleshoot > Advanced Options > UEFI Firmware Settings.
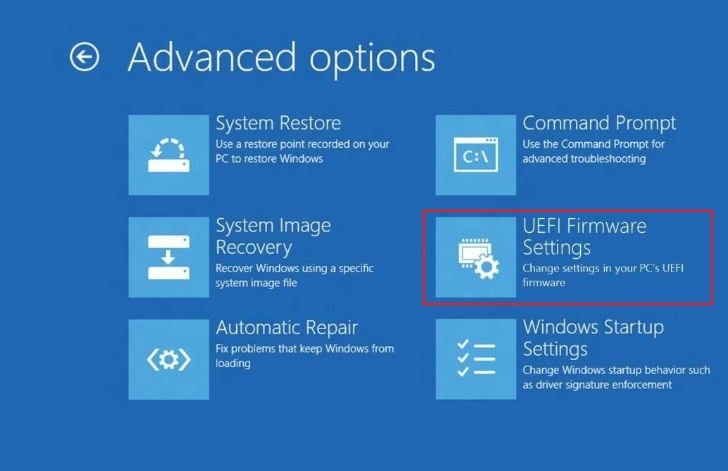
Then click Restart to reboot into the BIOS. This is an Asus laptop, so I could have used F2 to enter the BIOS. This will depend on your laptop model. Once in the BIOS, there are two things we want to do. First, set the boot priority to the USB thumb drive or USB drive, followed by Windows.

Second, go to Advanced mode (F7), find the Security settings, and turn off Secure Boot.
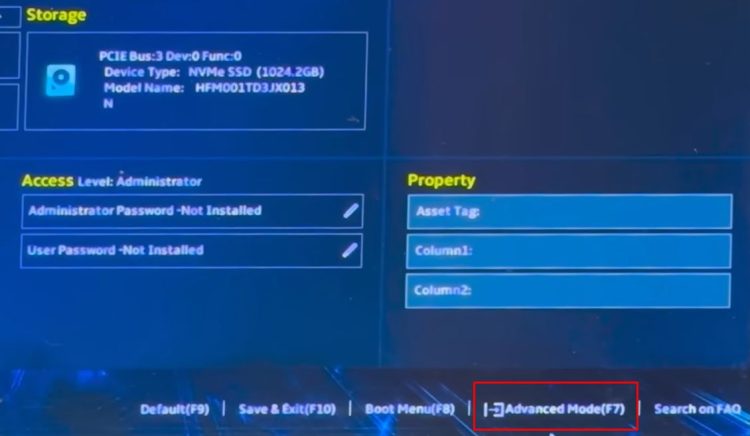
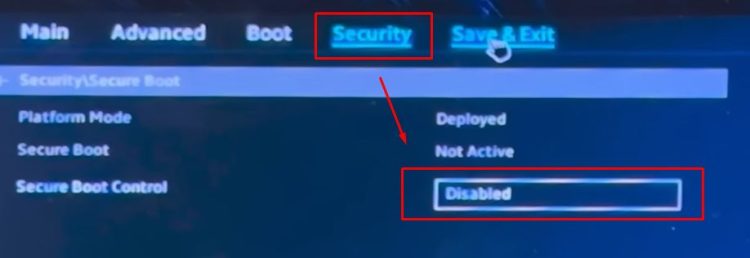
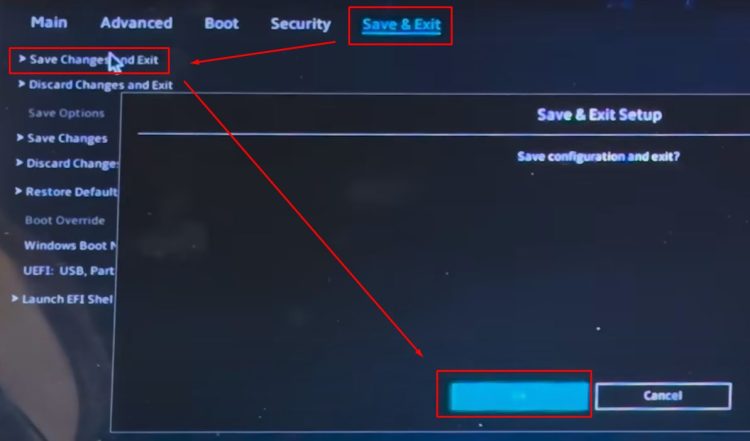
BIOS settings differ between computers, so you’ll need to find these options based on your system. Disable Secure Boot and set the USB drive as the primary boot option. Then, exit, save your changes, and reboot.
Booting into Kali Linux with Persistence
Now, the computer should boot from the USB flash drive, allowing me to enter Kali Linux. I’ll press the down arrow key and select “Live System with USB Persistence,” then press Enter.
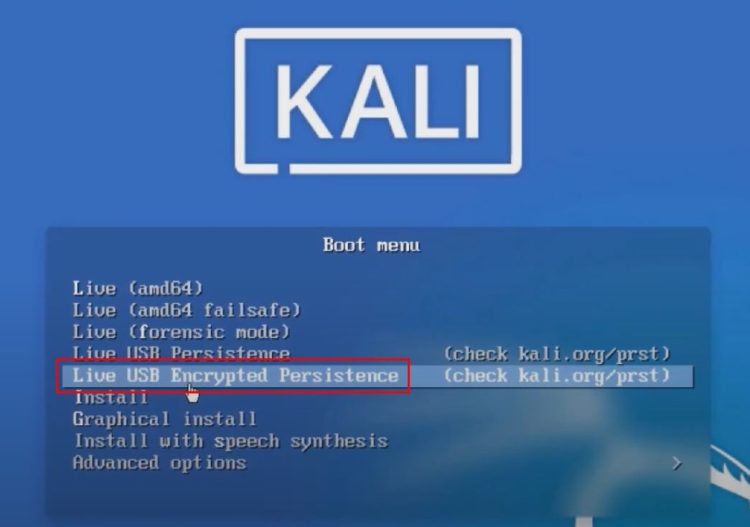
Persistence is important because it ensures that settings, like Wi-Fi configurations or files added to the desktop, are saved after a reboot.
Testing Persistence
Here we go, it’s booted into Kali Linux. I see various applications here, just like in a standard Kali installation. To demonstrate persistence, I’ll open the text editor and create a file named “test.” I’ll save it to the desktop with the name “test” and click Save.
Now, this file exists on the desktop. While I could connect to Wi-Fi, I’ll skip that for now. We’ll confirm persistence by rebooting and ensuring that the “test” file still exists.
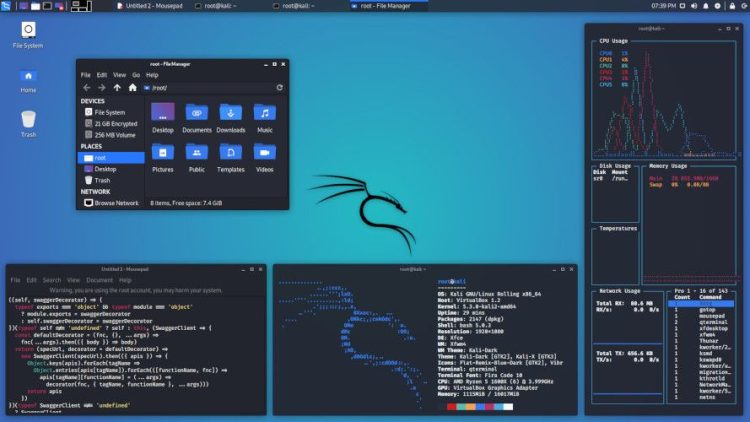
I’ll restart the computer now and again select the “Live System with USB Persistence” option. The laptop is booting into Kali off the USB flash drive. And there you go—the “test” file on the desktop has persisted through the reboot.
Switching Between Kali Linux and Windows
If I want to switch back to Windows, I can simply restart the laptop and remove the USB flash drive. This should allow it to boot into Windows.
Of course, you could also press the appropriate key to enter BIOS and select Windows that way, but here I’ve simply removed the flash drive. And there we go—it’s booted back into Windows.
To boot back into Kali, all I need to do is insert the USB drive again, restart, press F2, and set the USB drive as the primary boot device.
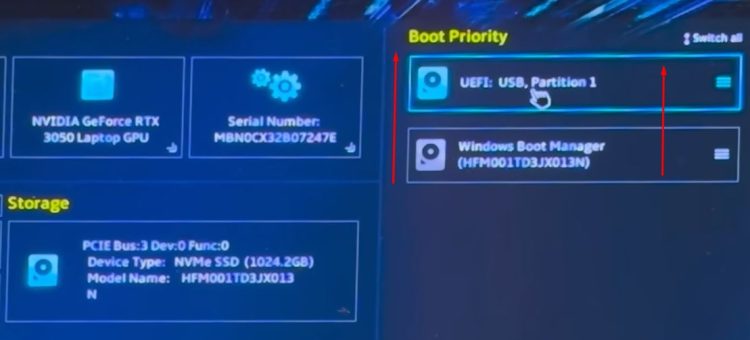
I’ll save and exit, and now I can select the persistent USB drive option again. Once more, I’ve successfully booted back into Kali Linux.
I hope you found this article useful. Kali Linux offers great flexibility—you can boot it from a USB flash drive or dual-boot with Windows.
