
In this article, I’ll show you how to convert a bootable USB drive back into a normal storage drive. If you’ve made a USB drive bootable before but now want to use it for regular storage, I’ll guide you through the steps.
Many people face the issue of not seeing the “Format” option when right-clicking on it, but don’t worry — I’ll show you a simple process without any third-party applications or software. So, let’s dive right in!
Accessing Command Prompt as Administrator
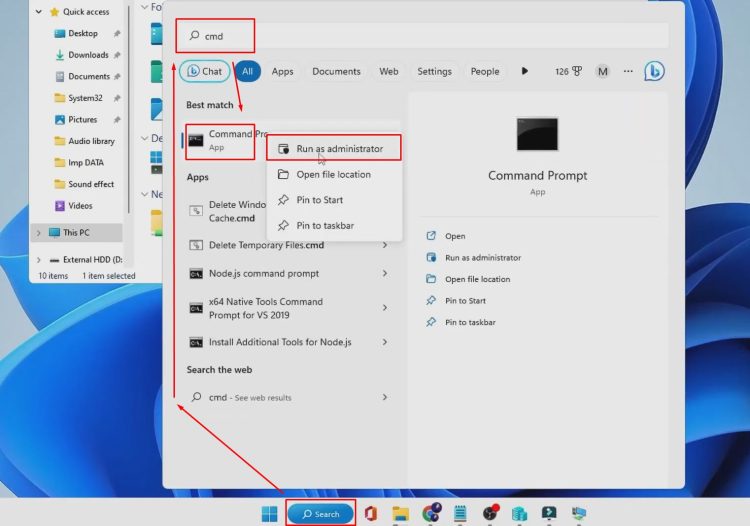
- Click on the Windows search bar and type “CMD.”
- Right-click on the Command Prompt and choose “Run as administrator.”
- Click “Yes” when prompted.
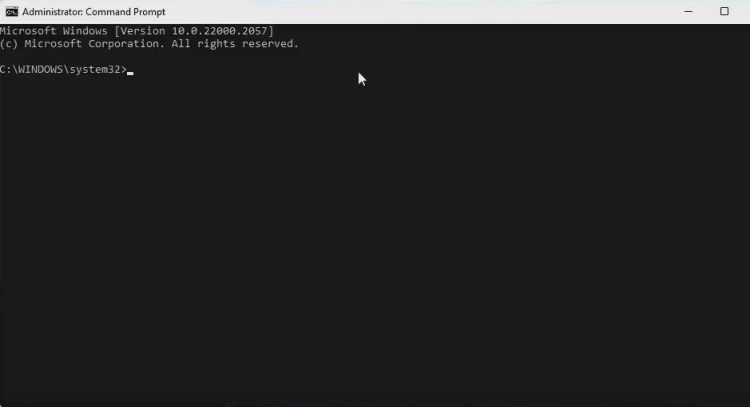
Now, the Command Prompt window will open.
Using DiskPart to Clean the USB Drive
- First, type
diskpartand press Enter to access the disk partition tool.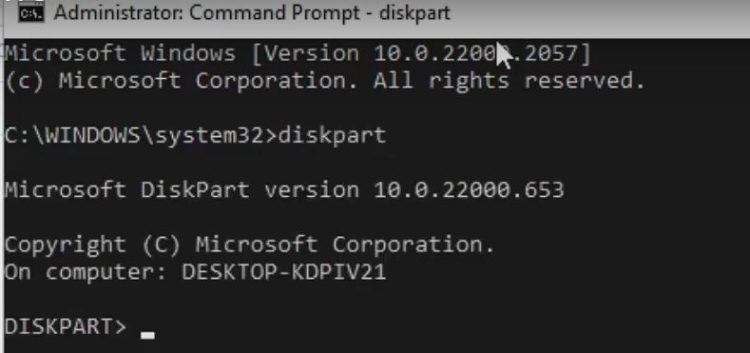
- To see all the disks available on your computer, type
list diskand press Enter.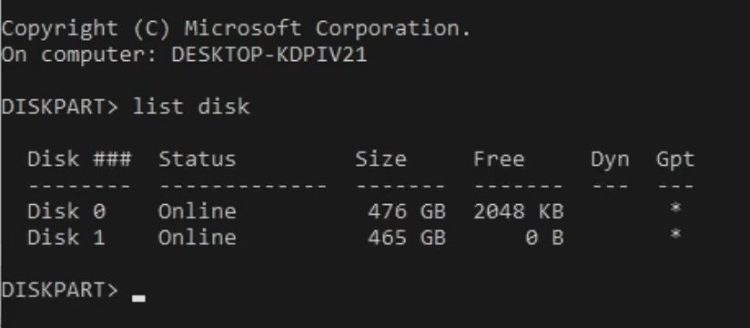
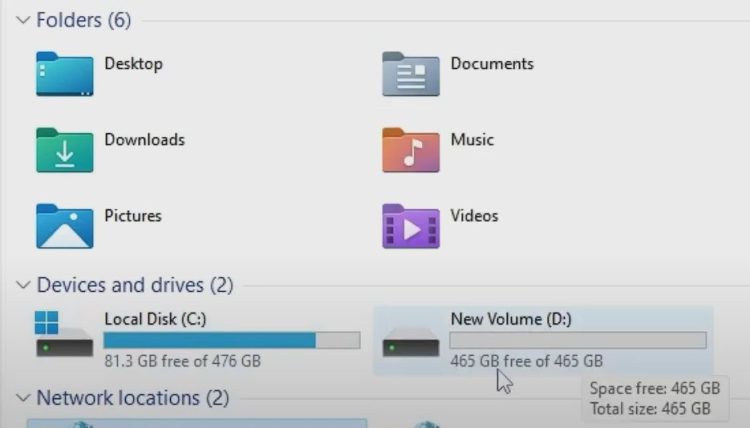
You’ll see something like “Disk 0” and “Disk 1,” both showing as online. Disk 0 with 476 GB is your primary drive where the operating system is installed, and Disk 1 is your bootable USB drive that we want to convert back to a normal drive.
Important Note: before proceeding, be extremely cautious when selecting the disk. Disk 0 is typically your primary drive where the operating system is installed, and deleting or formatting it will cause your computer to stop functioning properly. Make sure to correctly identify and select Disk 1, which is your bootable USB drive. Double-check before running any commands to avoid accidentally erasing your main drive.
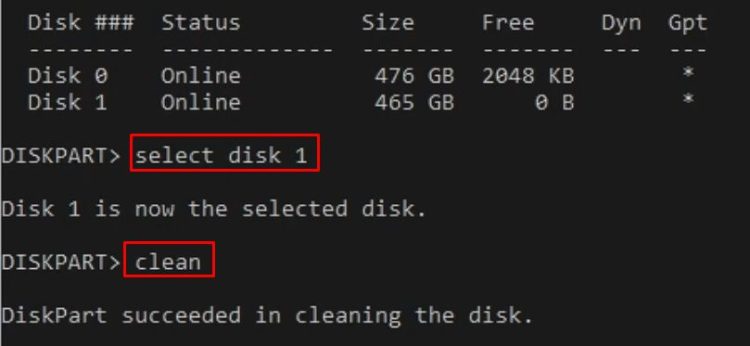
- To select Disk 1, type
select disk 1and hit Enter. This will select the bootable USB drive. - Now, type
cleanand press Enter. Wait a moment, and you’ll see a message saying, “DiskPart succeeded in cleaning the disk.”
Creating a New Partition on the USB Drive
Next, type create partition primary and hit Enter. You should see a message that says, “DiskPart succeeded in creating the specified partition.”

Formatting the USB Drive to FAT32
Finally, type format fs=fat32 quick and press Enter. It will start formatting and show “0% complete.” Wait until it reaches 100%.

Once all the commands are completed, just close the Command Prompt.
Troubleshooting: USB Drive Not Showing in File Explorer
Now, remove and reinsert your USB drive into your computer. If it doesn’t show up in File Explorer, follow these steps:
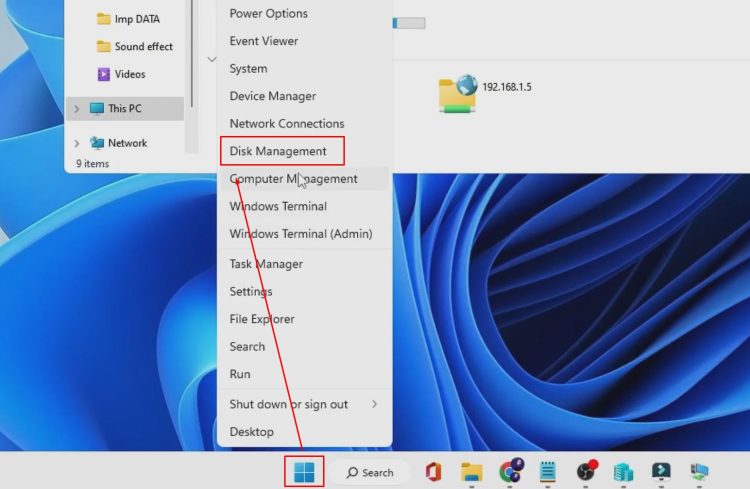
- Right-click on the Windows icon and select “Disk Management.”
- In Disk Management, you’ll see your drive listed as a RAW drive.
- Right-click on it and select “Delete Volume.”
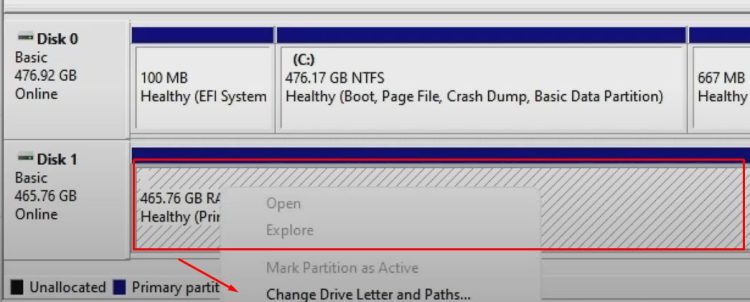
- Click “Yes,” and then right-click on it again and select “New Simple Volume.”
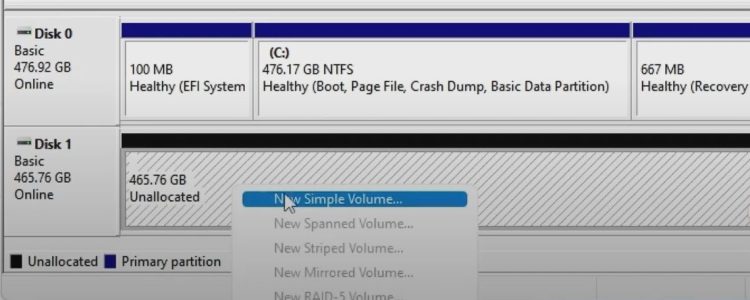
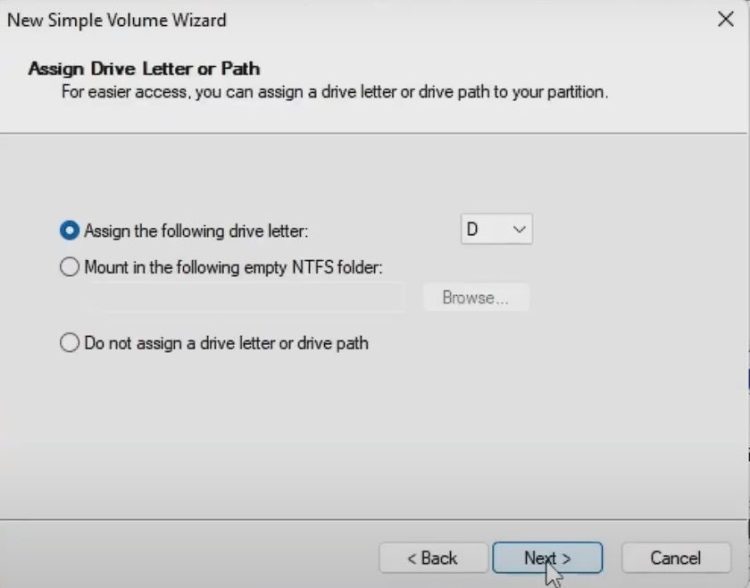
- Click “Next” through all the prompts until you reach “Finish.”
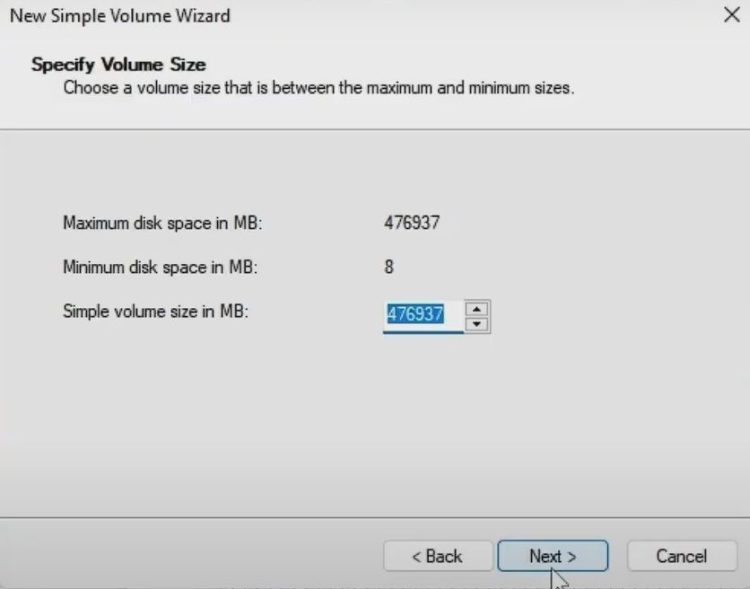
Change the settings if you feel you need to, but most likely everything will be fine with the default settings.
The drive will start formatting. Once done, go back to File Explorer, and you should see your drive listed — clean and ready for use with no data on it.
Conclusion
So, that’s how you can quickly convert your bootable USB drive back into a normal storage drive with just a few simple steps. I hope you found this article useful.