
Hi everybody. Today I will show you how to create a portable Windows 10 on a micro SD card. However, the process is the same for external HDDs, SSDs, and NVMe drives. This operating system will be a full-fledged Windows 10 with all its functions and can be booted on any computer or laptop running Windows, Linux, or Mac OS.
Requirements
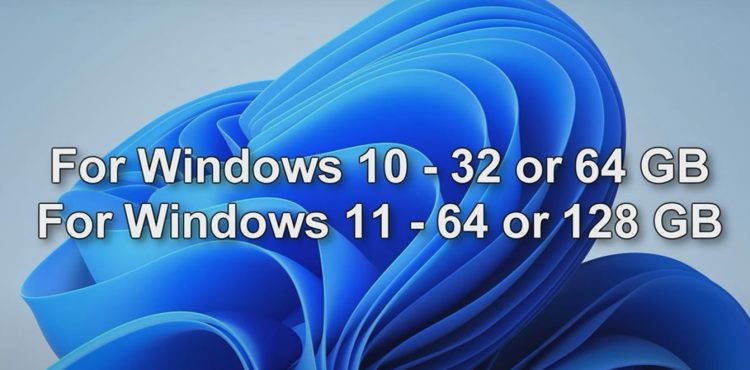
- For Windows 10, the external drive must have at least 32 GB of free space, but 64 GB is better.
- For Windows 11, at least 64 GB is required, and 120 GB is recommended for comfortable use.
Connecting the Micro SD Card
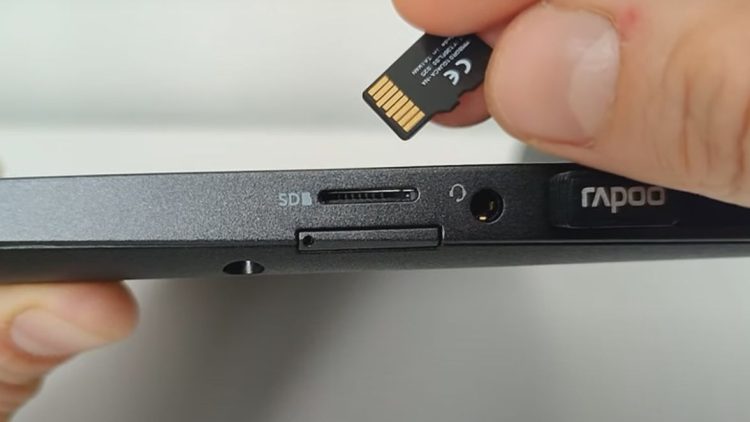
If you are using a laptop, connect your micro SD card to a dedicated port designed for micro SD cards. If your laptop doesn’t have such a port, use a USB card reader.
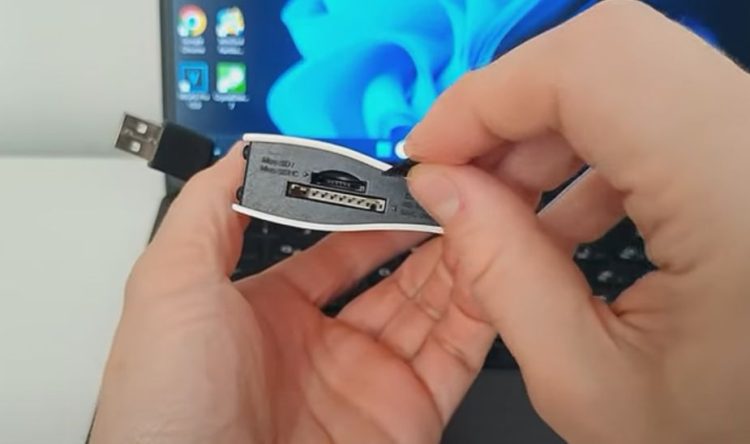
Connect the micro SD card to the card reader, then connect the USB cable from the card reader to the laptop or desktop PC.
Preparing the External Drive
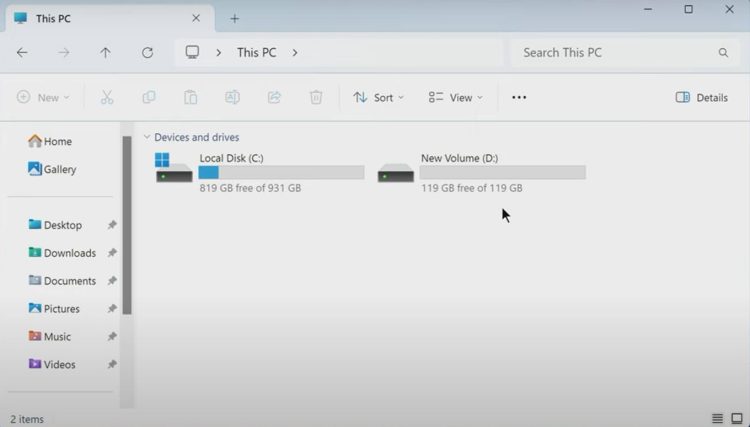
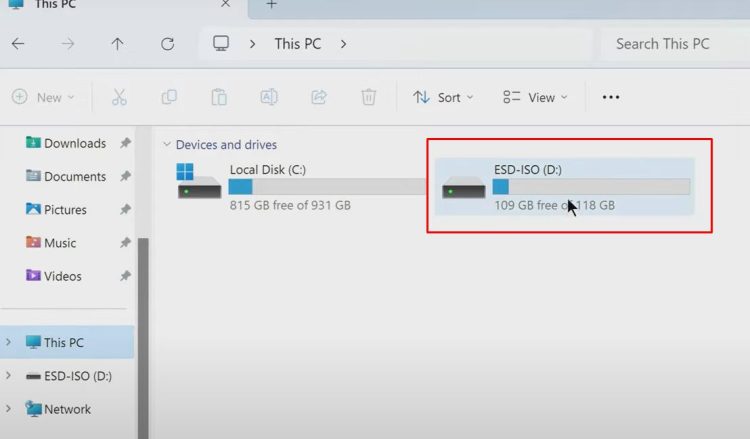
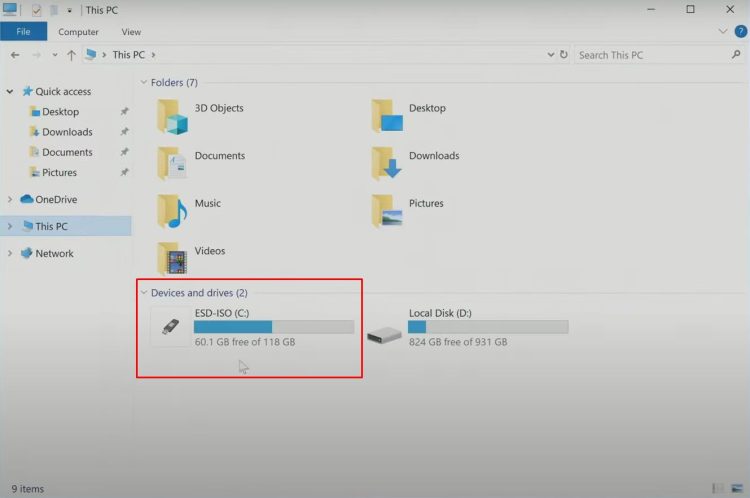
I open “This PC” and see my C drive. All files on the C drive will remain unchanged. After connecting the micro SD card, it appears in Explorer under the letter D.
Downloading Windows 10 ISO
To create a portable Windows 10, download the Windows 10 ISO file to your computer. Сlick the link to the official Windows 10 download page. The Microsoft website will open, allowing you to download the official Windows 10 image.
Downloading the Media Creation Tool
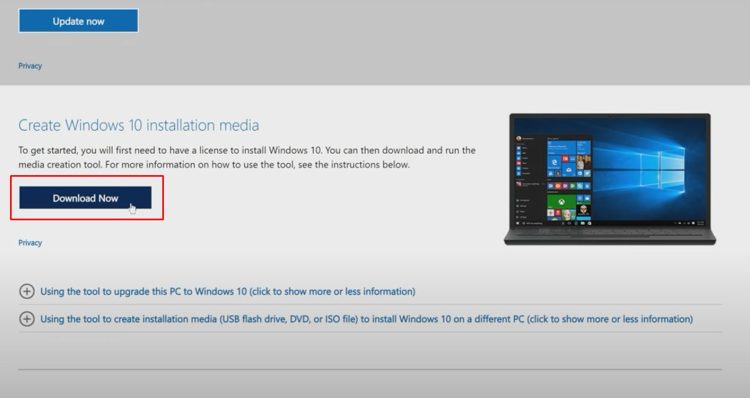
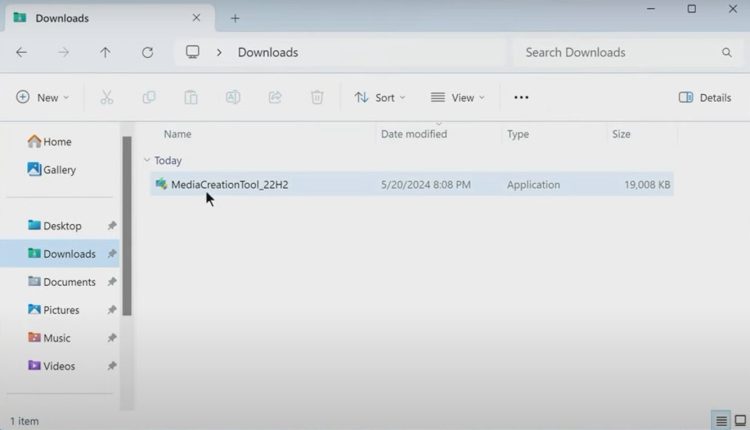
Click to download the Media Creation Tool, which will help you obtain the ISO file. Close the browser and open Explorer. Double-click the Media Creation Tool shortcut in the Downloads folder.
Creating the ISO File
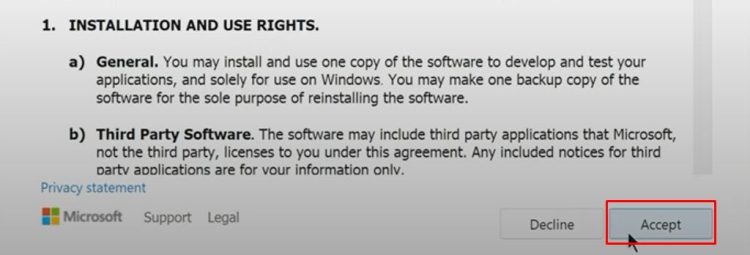
- Accept the license terms.
- Choose to download the Windows 10 ISO file (not to update your PC). Click ‘Next.’

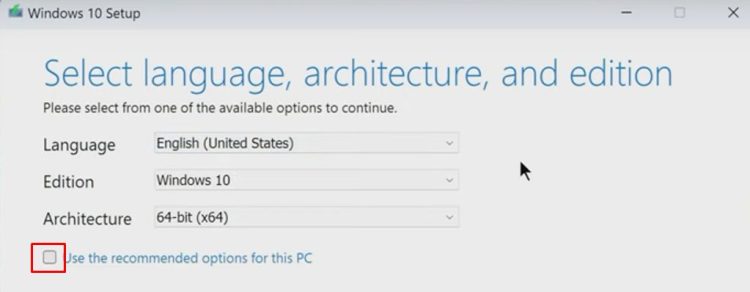
- If you want to select a language other than English, uncheck the box. Click ‘Next.’
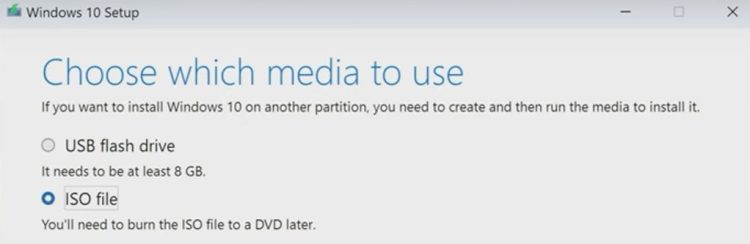
- Select ‘ISO file’ and ‘Next.’
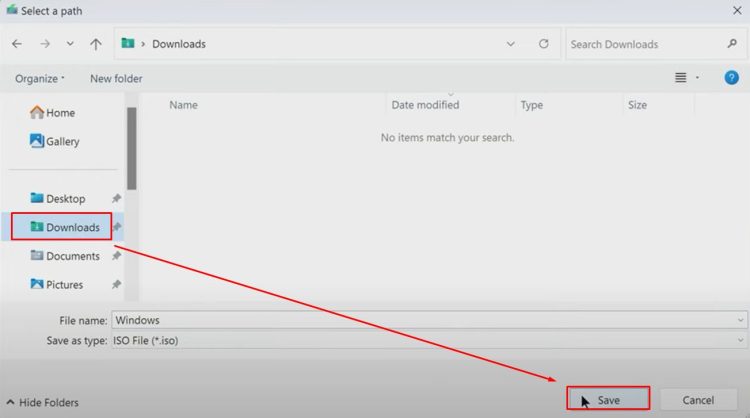
- Choose where to save the ISO file—let’s save it in Documents. The ISO file will start downloading.
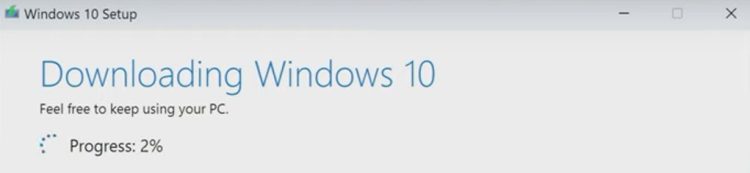
You can continue working on your computer or take a break. Once the download is complete, click ‘Finish.’
Downloading and Installing Rufus
Now, download the Rufus application to write the ISO file to the USB memory drive. Click the link to the official Rufus download page. Scroll down a bit and click to download.

The small application will download quickly. Close the browser and open the Downloads folder. Double-click the Rufus shortcut to open the interface.
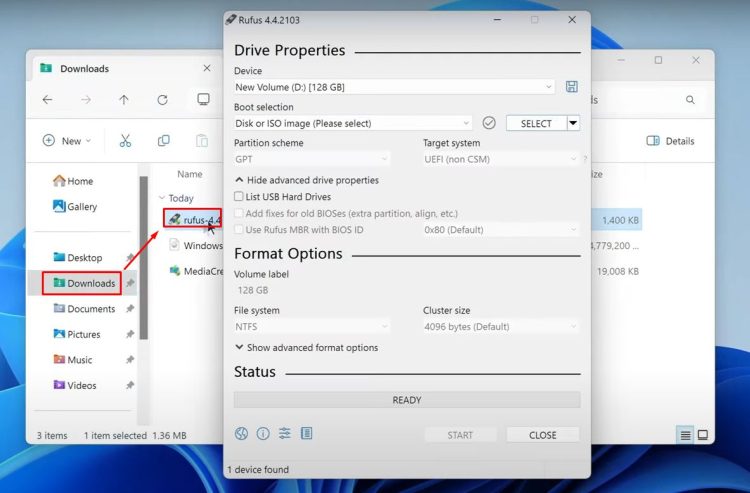
Using Rufus to Create a Portable Windows 10
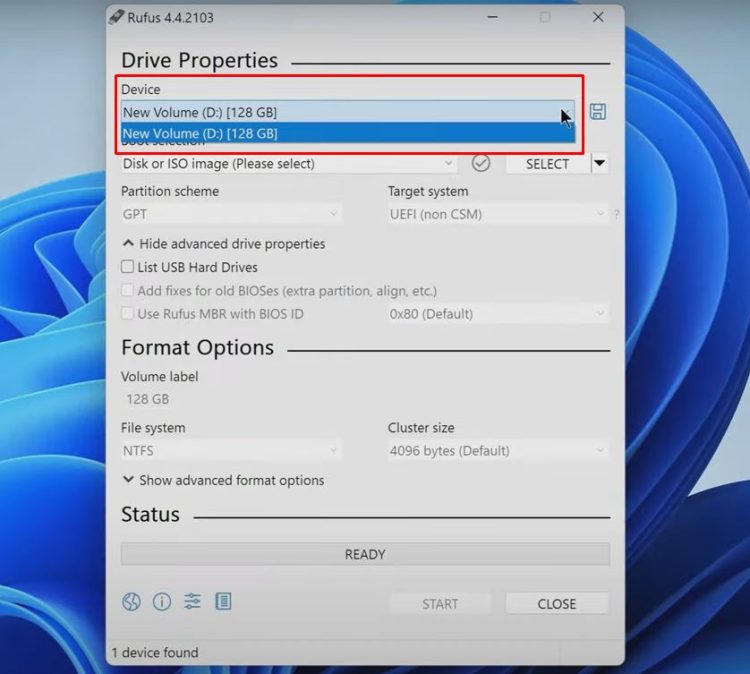
In Rufus, at the top, select your micro SD card. If using an external USB drive, check the appropriate box, click ‘Select,’ and choose the Windows ISO file. Click ‘Open.’
Selecting the ISO Recording Method

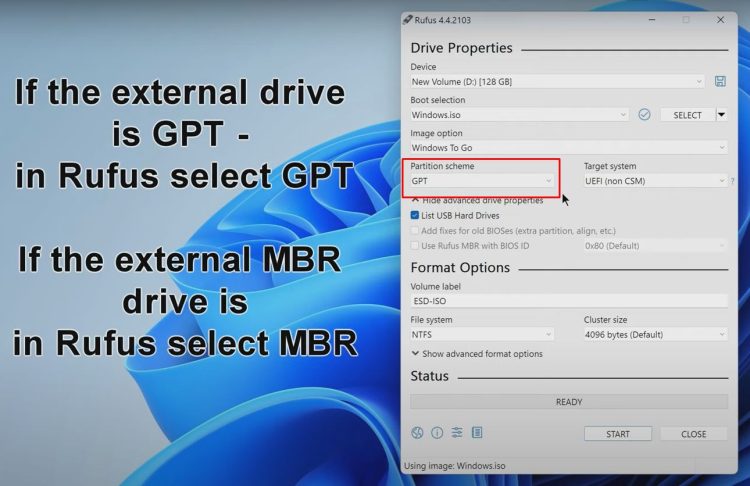
Choose the ISO recording method: ‘Windows To Go.’
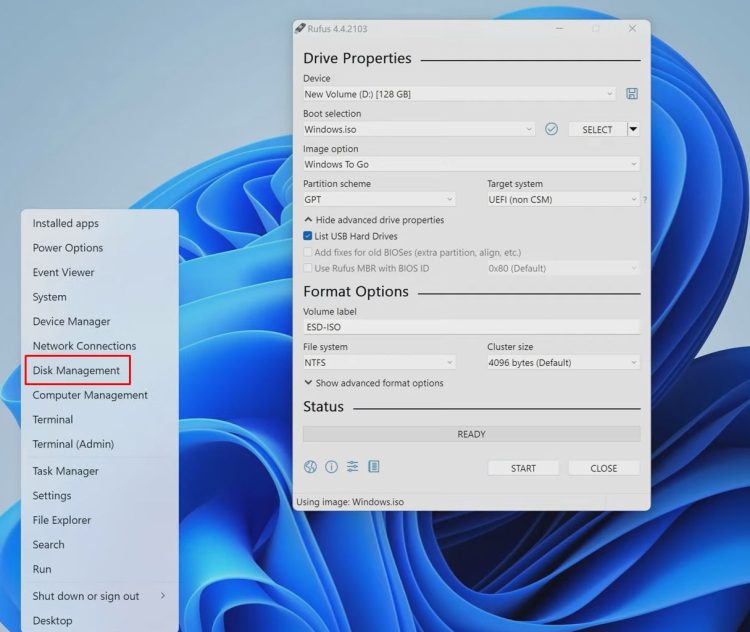
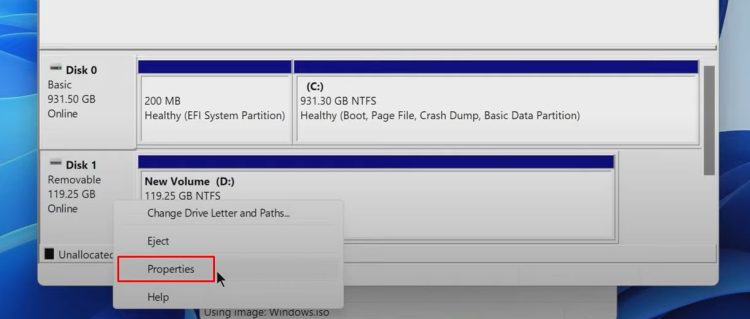
Select the disk partition scheme—MBR or GPT. To determine this, right-click the Start button and select ‘Disk Management.’ Right-click the micro SD card and select ‘Properties.’ Go to the Volumes tab to see the partition scheme. For GPT, select GPT in Rufus; for MBR, select MBR.
Checking the Partition Layout of the Micro SD Card
To find out the layout of the micro SD partition:
- Right-click on the Start button and select Disk Management.
- In the Disk Management window, right-click on the micro SD card and select Properties.
- In the Properties window, go to the Volumes tab. Here, you will see the partition scheme of your micro SD card.
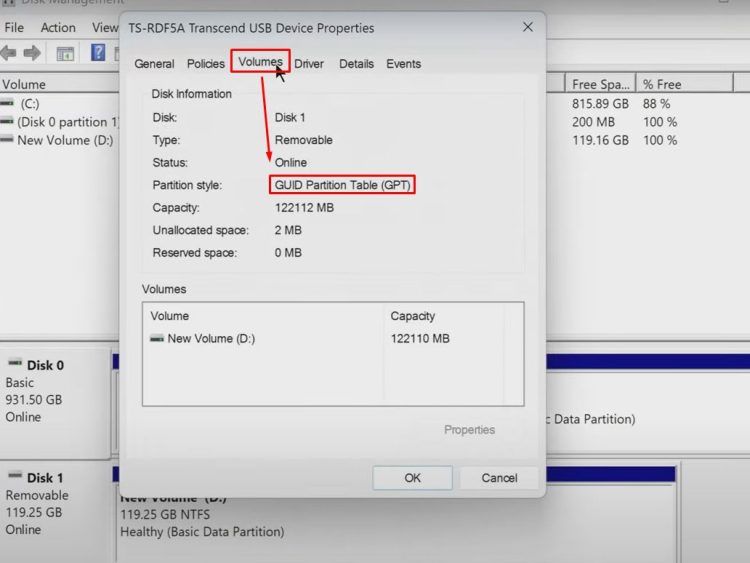
If the partition scheme is listed as GPT, you should select GPT in Rufus. If it is listed as MBR, select MBR in Rufus.
Starting the Process
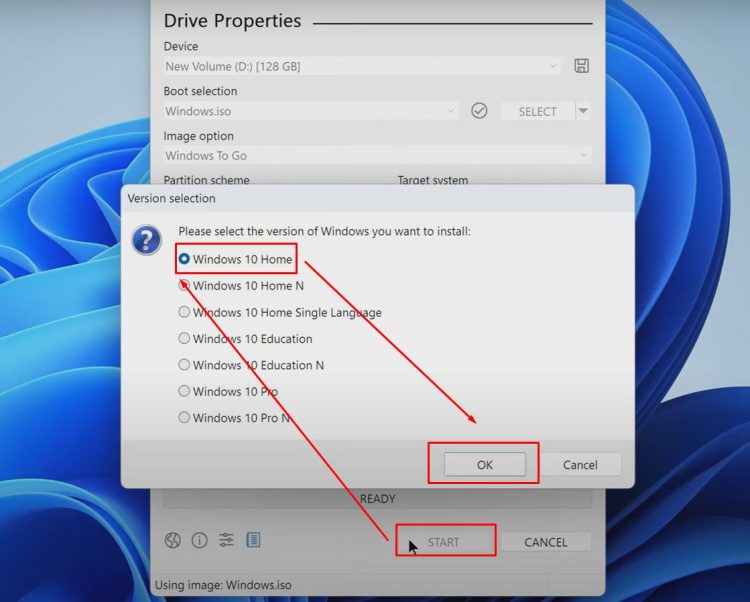
Click ‘Start.’ In the window that opens, select the Windows 10 version that matches your current version to preserve your license. For example, choose Windows 10 Home if that’s what you have.
In the settings window, uncheck the top box if you want to use the drive to remove viruses or transfer files.
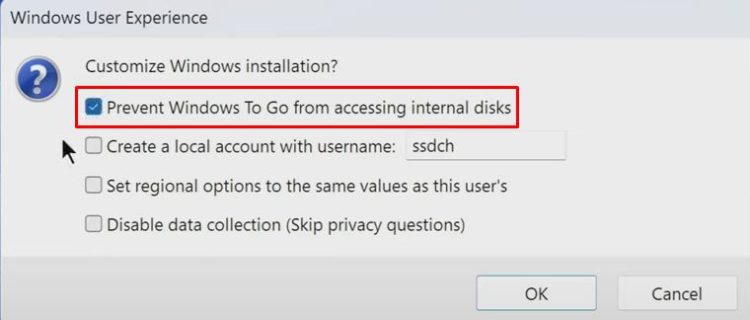
Click ‘OK.’ Rufus will warn you that all data on the micro SD card will be deleted.
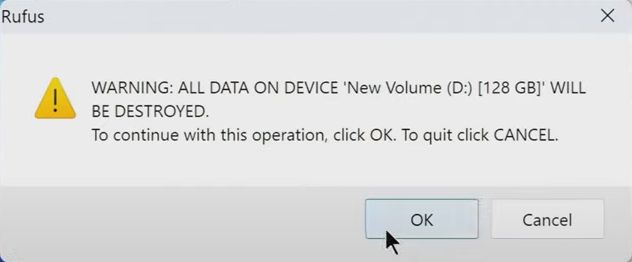
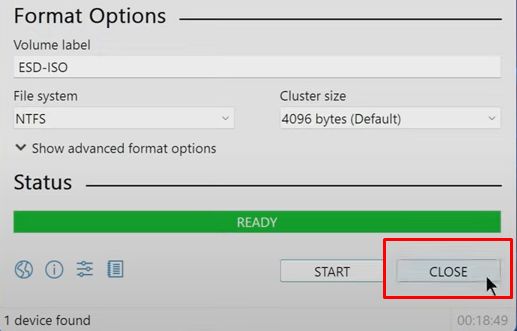
Click ‘OK’ to begin creating portable Windows 10. Once Rufus finishes, close the application.
Booting from the Micro SD Card
Open “This PC” and check the micro SD card to ensure Windows 10 files are present.
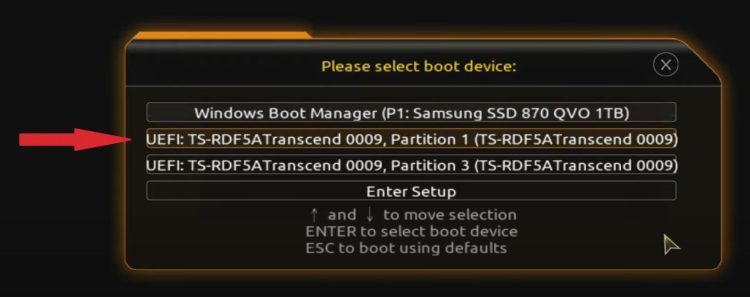
To install Windows 10, restart your computer, access the boot menu (usually by pressing F12, F8, F9, F11, or another key during startup), and select the micro SD card.
Installing Windows 10
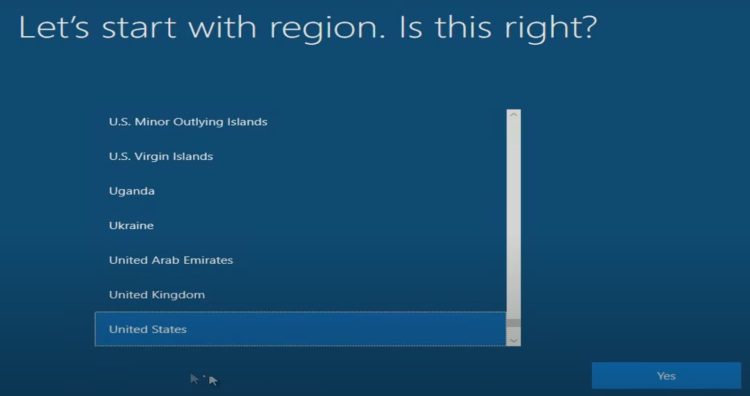
Follow the prompts to install Windows 10. Select your region, keyboard layout, accept the license terms.
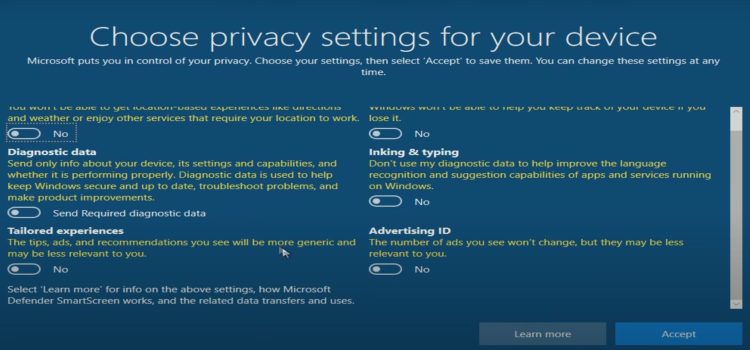
You can sign in to your Microsoft account or create a local account. Set up your privacy settings as desired.
Post-Installation Setup
After installation, check the micro SD card’s Drive C. It will show an unusual icon for the Windows 10 drive. The disk with my Windows 11 is called Disk D here, and all the files on this disk have not changed at all.
Checking Activation
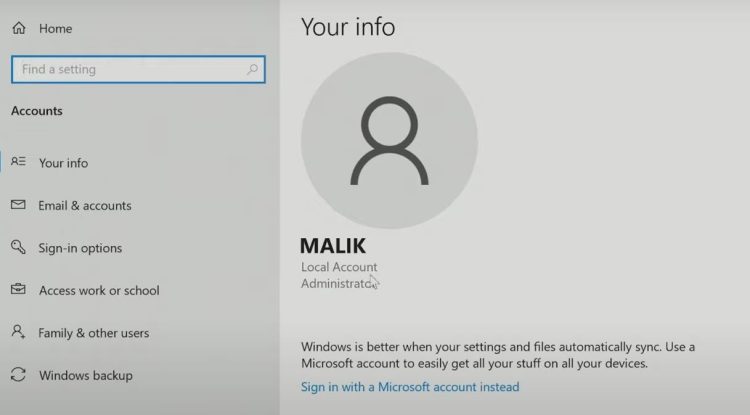
Open Settings, then Accounts, to confirm that Windows 10 on the micro SD is managed by a local account or a Microsoft account. To log into a Microsoft account or create a new Microsoft account, click “Sign in with a Microsoft account instead”.
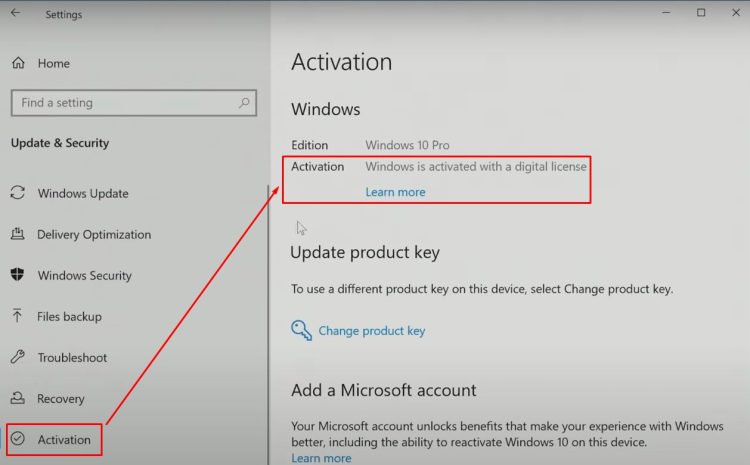
To check activation, go to Update & Security, then Activation. Windows 10 should be activated automatically with your Microsoft Digital License.
Conclusion
That concludes my article. I hope this process helps you successfully use your computer. Thank you for reading, and have a great day!