

Welcome to Winusb.net! In this article, we’ll guide you through the steps to fix the “inaccessible boot device” stop error in Windows 10 and Windows 11.
This error typically occurs when the Windows operating system cannot access the boot partition or device.
Various factors can trigger this issue, including virus or malware attacks, corrupted system files, incorrect BIOS settings, and incompatible storage controller drivers.

We’ll cover two reliable solutions to help you resolve the inaccessible boot device error and get your system back up and running. Let’s get started!
Solution 1: Reset BIOS/UEFI Settings to Default
- Restart Your Computer: Begin by restarting your computer. During the boot process, press the BIOS key to enter your PC’s BIOS or UEFI settings. This key varies by manufacturer but is often F2, Delete, or Escape.
- Enter BIOS/UEFI Settings: Navigate through the BIOS or UEFI menus and look for an option like “Load Setup Defaults,” “Load Optimize Default,” or “Load Default Settings.”
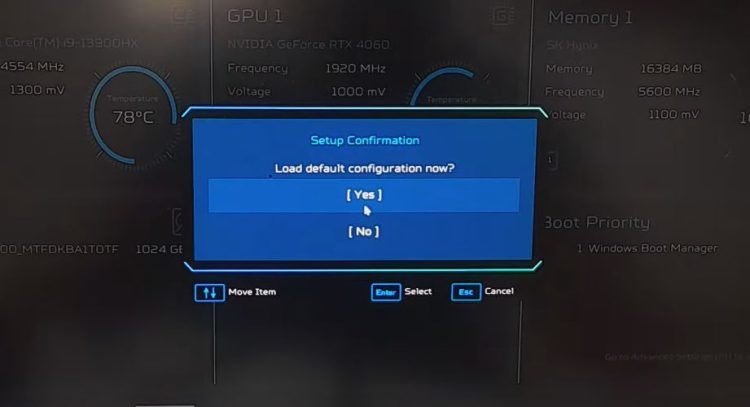
- Reset to Default Settings: Select the option to reset BIOS/UEFI to default settings, then confirm by selecting “Yes” and hitting Enter.
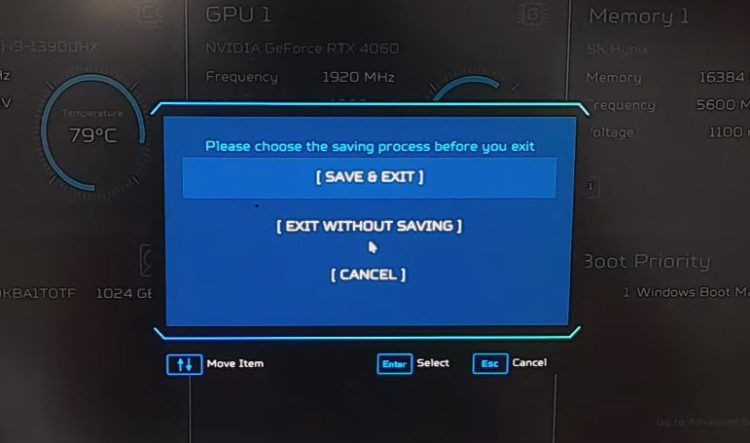
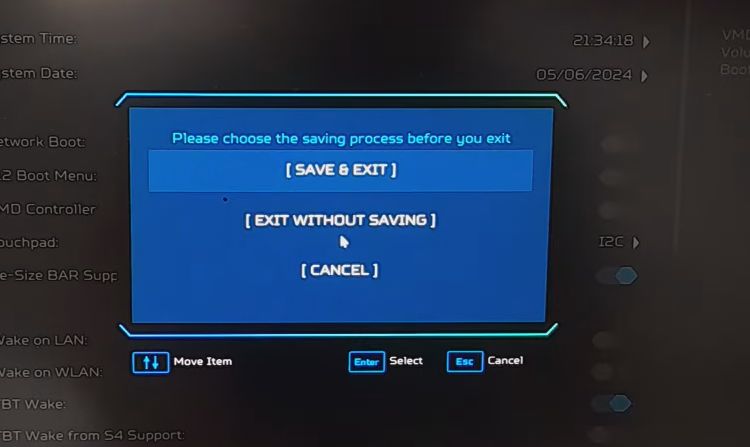
- Save and Exit: Save the changes by pressing the F10 key (or the appropriate key for your system) and exit the BIOS/UEFI.
Explanation: Resetting BIOS settings to their default ensures that any incorrect configurations causing the inaccessible boot device error are reverted. This action resets critical system parameters related to boot order and storage configuration.
Solution 2: Disable VMD Controller in BIOS/UEFI
- Access BIOS/UEFI Settings: Restart your computer and enter the BIOS/UEFI settings by pressing the appropriate key (F2, Delete, Escape, etc.).
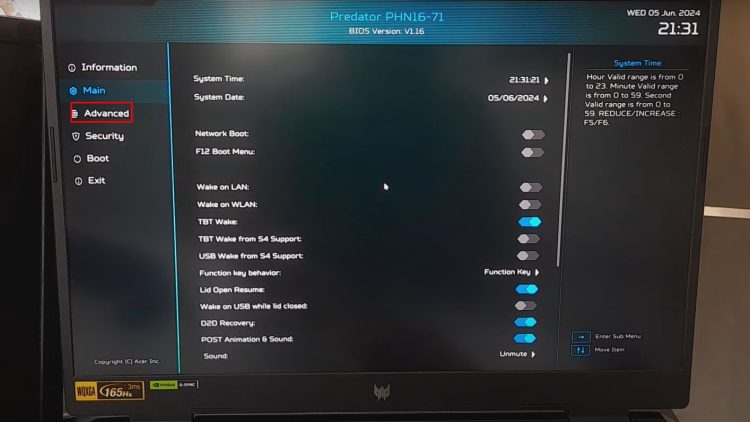
- Navigate to Advanced Settings: Use the arrow keys to find the Advanced or Configuration tab. Look for an option like “VMD Controller,” “Intel VMD,” or “Volume Management Device.”
- Unlock Hidden Menus: If you can’t find the VMD Controller option, it might be hidden. In some BIOS/UEFI setups, you can unlock hidden menus by pressing a specific key combination, such as Ctrl + S.
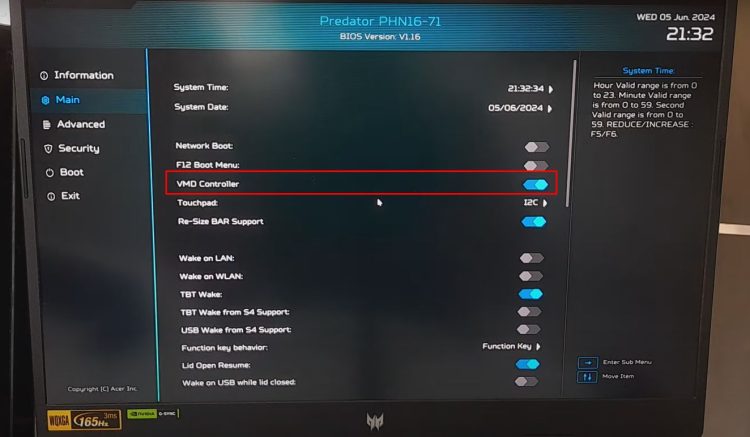
- Disable VMD Controller: Once you locate the VMD Controller setting, change it from “Enabled” to “Disabled” or simply toggle it off.
- Save and Exit: Save the changes and exit the BIOS/UEFI.
Explanation: The VMD controller driver is used for managing multiple NVMe drives through a single controller, offering features like RAID. However, it can interfere with the normal boot process if the operating system or drivers are not configured to use it. Disabling the VMD controller can resolve the inaccessible boot device error.
Conclusion
We hope this tutorial was helpful in resolving the inaccessible boot device stop error on your Windows 10 or Windows 11 system. If you have any questions or need further assistance, please let us know. Don’t forget to like, comment, and share this article. Your support is crucial for us.
Thank you for reading!