
In this article, we’re going to install Whonix on VirtualBox. First, let’s understand what Whonix is and how it works to provide internet anonymity.
Understanding Whonix
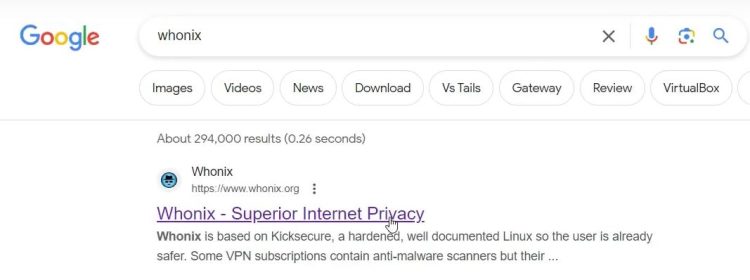
To begin, let’s open a browser, go to Google, and search for “Whonix.” Click on the first link, which will take us to the official Whonix page at whonix.org.
Whonix is designed with two main components, or virtual machines:
- Whonix Gateway. This virtual machine functions as your internet gateway. It routes all internet traffic through the Tor network, providing anonymity by hiding your identity online.
- Whonix Workstation. Similar to other Linux distributions like Ubuntu and Kali Linux, the Workstation is where users can perform daily tasks. The critical difference is that all network traffic from the Workstation is routed through the Gateway, ensuring that everything is tunneled through the Tor network.
Together, these components offer a robust anonymity solution. The Gateway “torrifies” all outgoing traffic, meaning it passes through Tor relays, hiding your IP address and providing privacy. This setup can be expanded, allowing other virtual machines, like Kali Linux, to connect through the Gateway for anonymity without needing the Whonix Workstation.
Whonix is one of the most reliable methods to maintain anonymity online and is trusted by figures such as Edward Snowden. For more information, visit the “About” section on the Whonix website.
Downloading Whonix
To start the installation process:
- Visit whonix.org and click on the Download Now button.

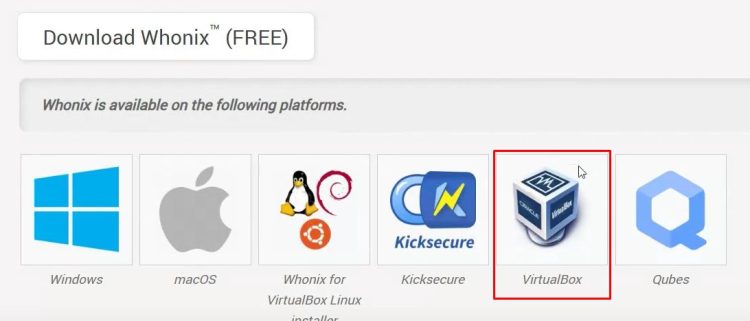
- Select VirtualBox as the installation platform.
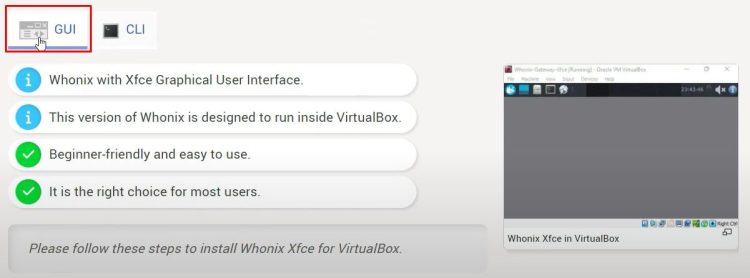
- Choose between the Graphical User Interface (GUI) or the Command-Line Interface (CLI) versions. Here, we’ll use the GUI. version.
- Scroll down and click Download Whonix to start the download.

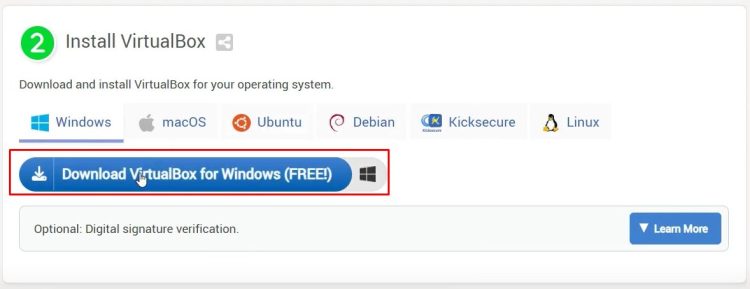
Note: You’ll also need to have VirtualBox installed on your system. If you haven’t installed VirtualBox yet, download it by selecting your operating system (e.g., Windows) from the Whonix website.
Installing Whonix on VirtualBox
After the download completes:
- Open the folder where your Whonix file downloaded. The file will have an
.ovaextension, meaning it’s a preconfigured appliance for easy setup.
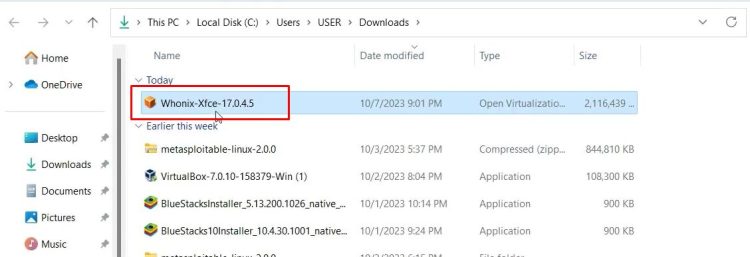
- Double-click the
.ovafile to open it in VirtualBox. Leave all settings at default and click Finish to begin the import process.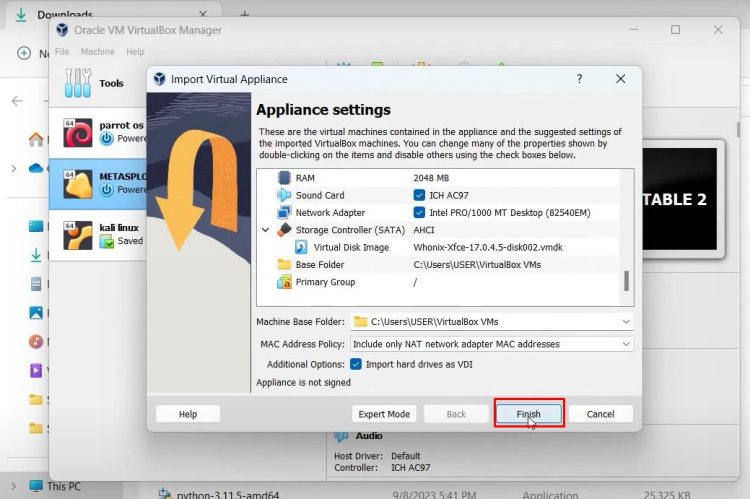
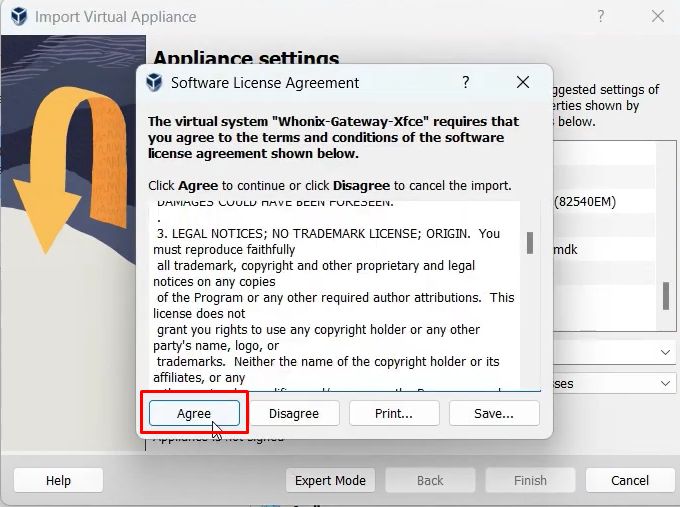
- Accept the license agreements by clicking Agree as prompted. The import process will take a few moments.
Once the import is complete, you’ll see two virtual machines in your VirtualBox manager: Whonix Gateway XFCE and Whonix Workstation XFCE.

Configuring and Starting Whonix Gateway
Now, we’ll configure and start the Gateway:
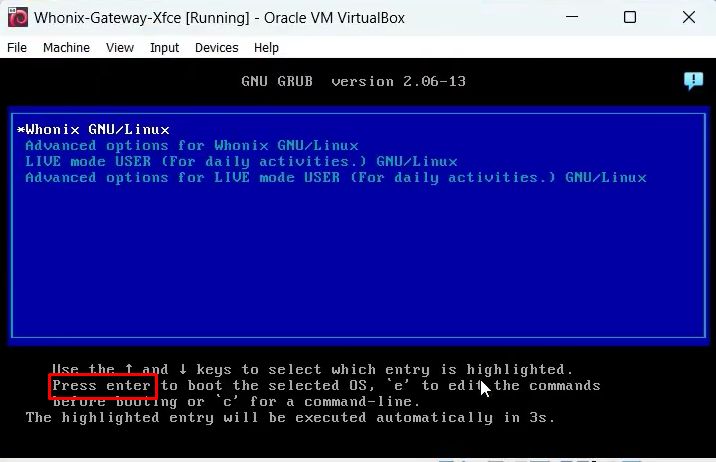
- Start the Whonix Gateway virtual machine.
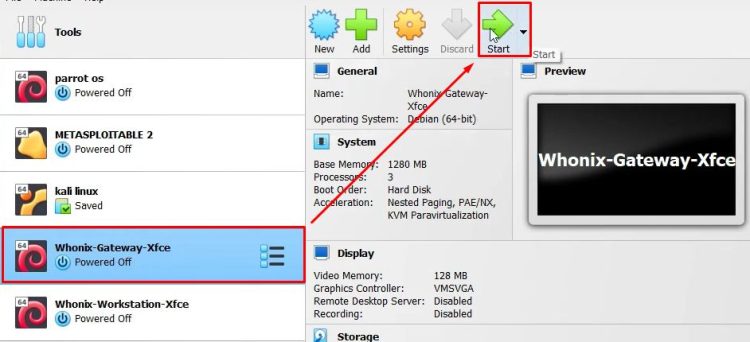
- Press Enter when it loads.
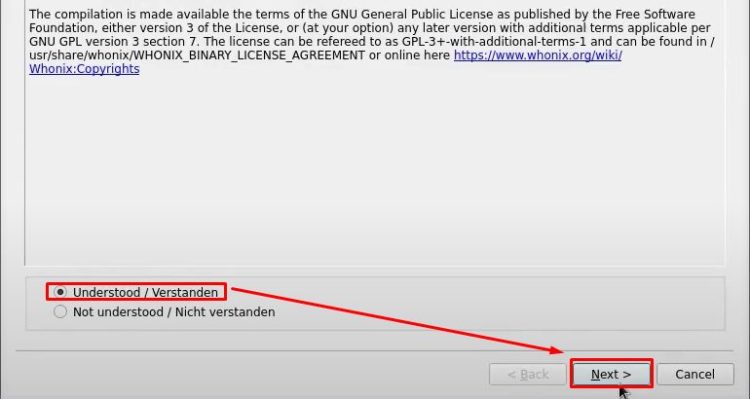
- Click on I understand and then Next to proceed through the setup prompts.
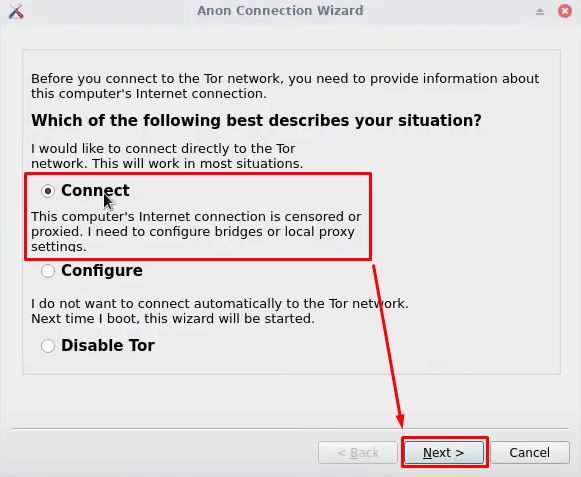
- Click Connect to connect the Gateway to the Tor network.
- Continue through the setup steps by clicking Next until you reach the Finish screen.
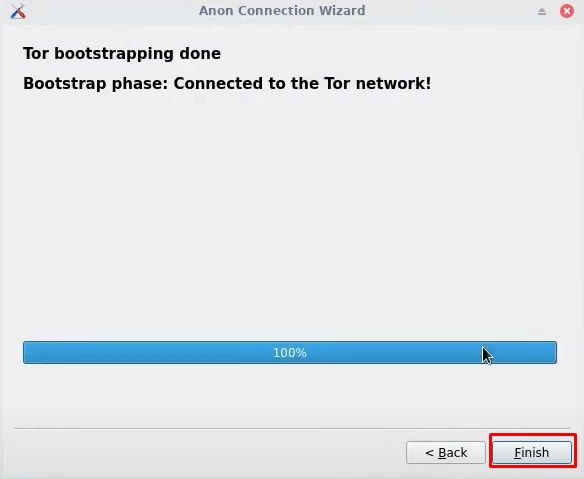
Once completed, the Gateway will be connected to the Tor network. You can minimize it, but do not close it, as it needs to remain active to maintain the Tor connection for other virtual machines.
Configuring and Starting Whonix Workstation
Next, let’s set up the Workstation:
- Start the Whonix Workstation XFCE virtual machine and press Enter.
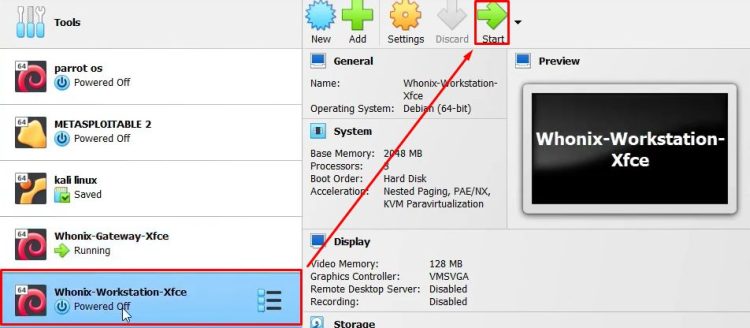
- Click on I understand and Next to complete the initial prompts.
- The Workstation will then connect to the Tor network. Note that this may take a moment.
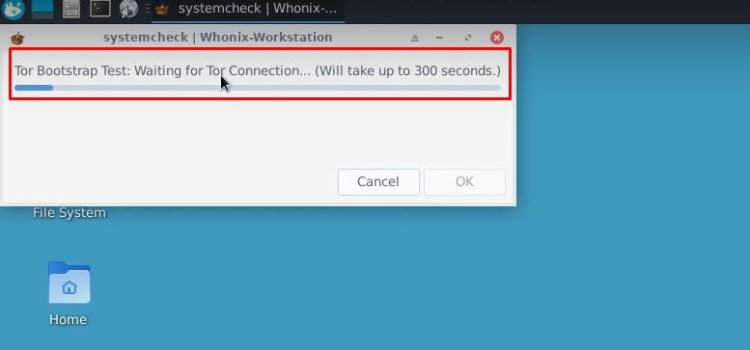
Once connected, your Workstation is fully anonymized through the Tor network.
Verifying Anonymity
To confirm that your internet connection is anonymous:
- Open a browser within the Workstation and click on “IP check”.
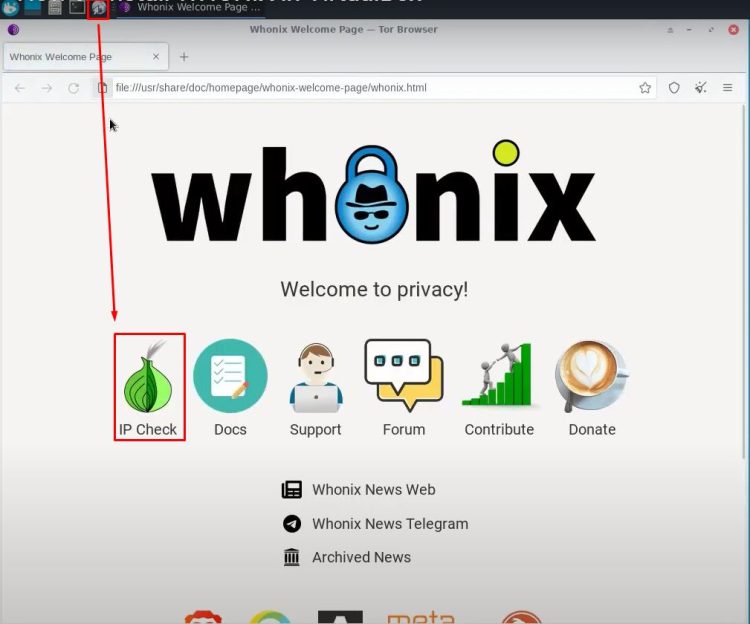
- You should see a message confirming that the browser is configured to use Tor. Your IP address should appear different from your actual IP, verifying your anonymity.
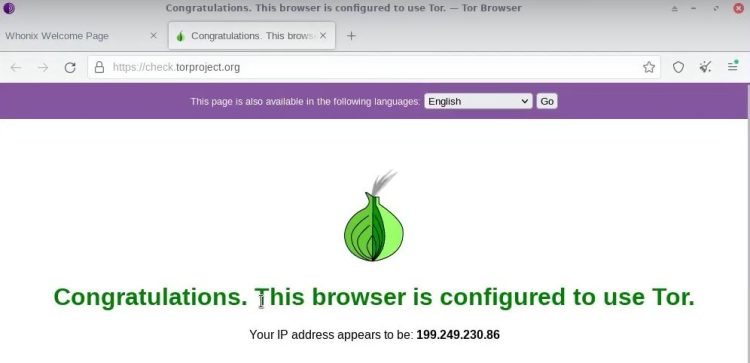
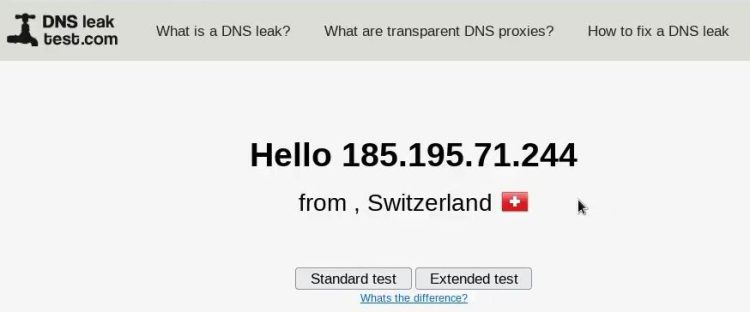
- You can also visit dnsleaktest.com to ensure there are no leaks. It should indicate a different location, such as Switzerland, confirming that your IP and DNS are masked.
Conclusion
Installing Whonix on VirtualBox is a powerful way to protect your online identity, utilizing the Tor network to mask your IP address and ensure anonymity. By configuring both the Whonix Gateway and Workstation virtual machines, you create a secure environment that routes all internet traffic through Tor.
With this setup, your browsing, downloads, and any network activities are anonymized, providing robust privacy. Whonix is trusted by privacy advocates and those seeking secure internet use, offering an effective solution for anyone concerned about online surveillance. For the ultimate online privacy experience, this Whonix setup is highly recommended.
