
There comes a time when you forget your Windows 10 or 11 login password or PIN and get frustrated, wondering what to do next. So you start looking for a guide and end up spending a lot of time with no guarantee that it will work. But today, I will help you create a bootable USB—in fact, a multi-bootable USB—which you just need to plug into your computer, boot from it, and then you can easily reset or remove any kind of Windows login password or PIN.
Getting Started
So without any delay, let’s get started. Right now, you can see I’m on my Windows 11 login page, and it’s asking for the password.
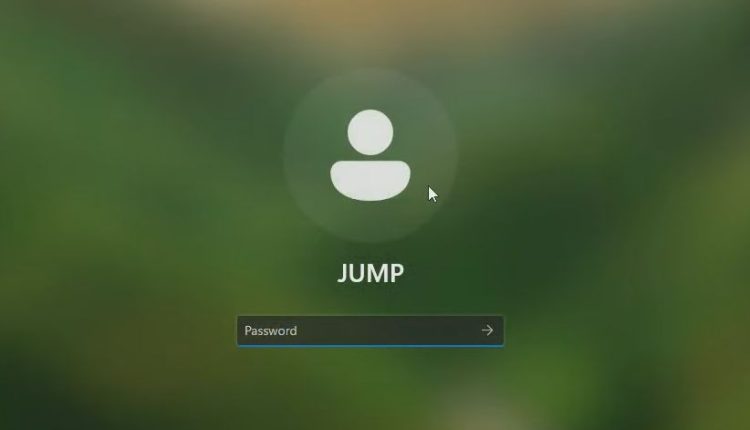
When I try to enter it, it says the password is incorrect.

I’ve probably forgotten it or don’t remember the correct password. This could be the same issue if you’re using a Microsoft PIN—you can apply the same method to reset or remove it.
Download Hiren’s Boot CD ISO
Alright, so the bootable USB we’re talking about is the Hiren’s Bootable USB, a very popular tool that gives you tons of options. Not only can you reset the password, but you can do many other things. So, bring up any of your favorite browsers. You have to search for “Hiren’s Boot CD.”
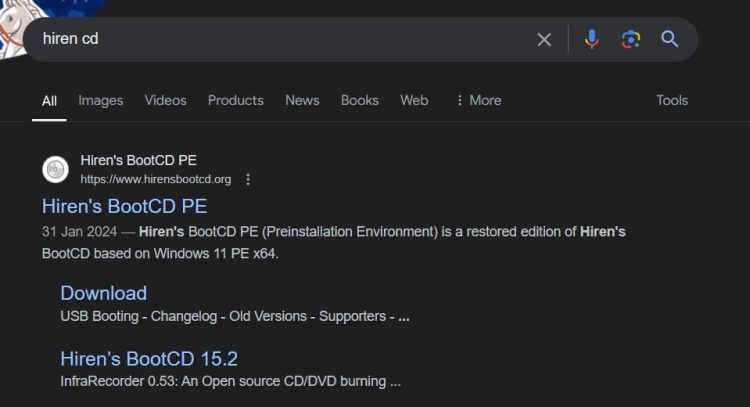
You’ll get the first link—click on it.
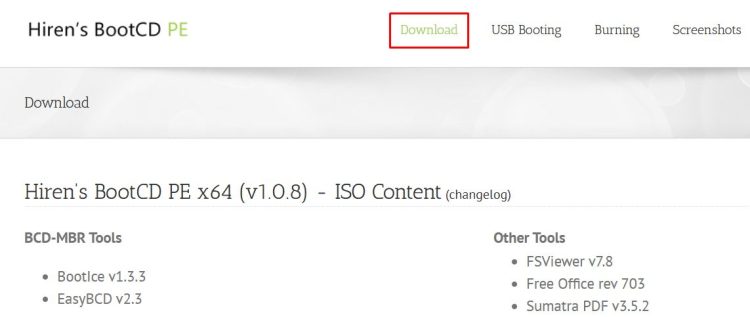
Then, click on “Download” from the top menu, scroll down to the bottom, and here you’ll find the file named HBCD_PE_x64.iso.
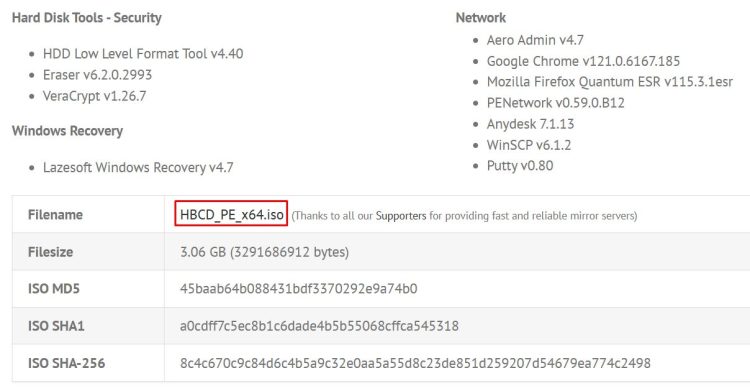
Click on it, and the download will start. It’s around 3.1 GB, so you will have to wait.
Create a Bootable USB Using Rufus
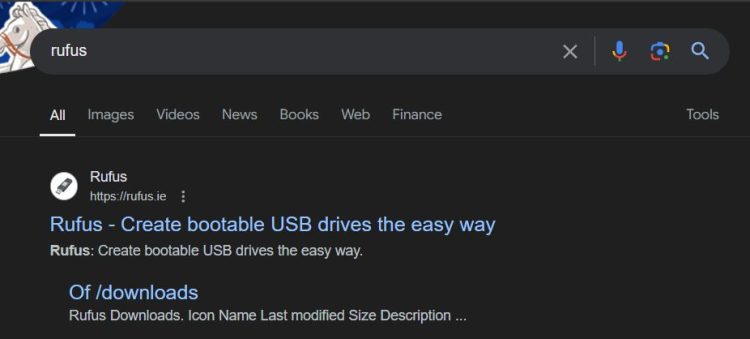
Once the ISO file is downloaded, open a new tab and search for Rufus, which will help us create the bootable USB.
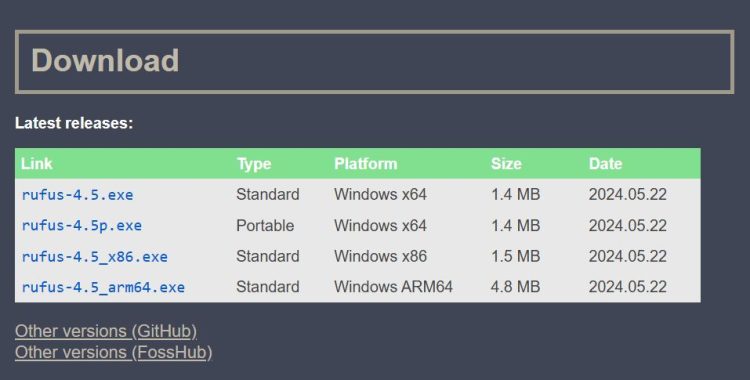
Scroll down and click on the Rufus 4.5.exe link.
Click on the downloaded file, then click Yes, and this kind of dashboard will appear.
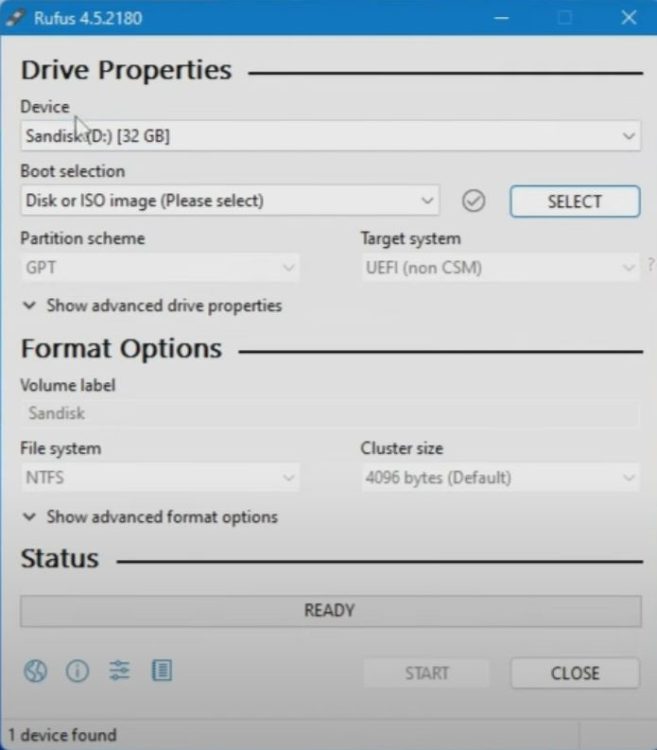
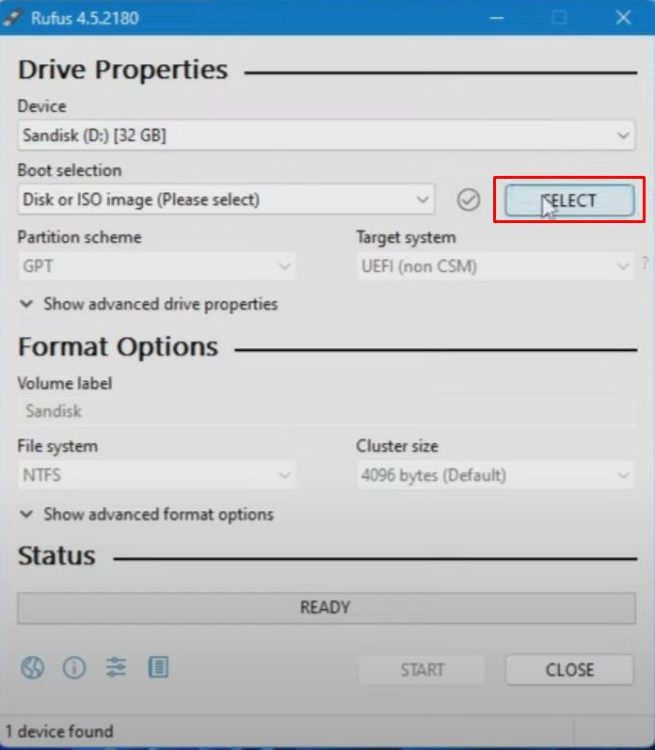
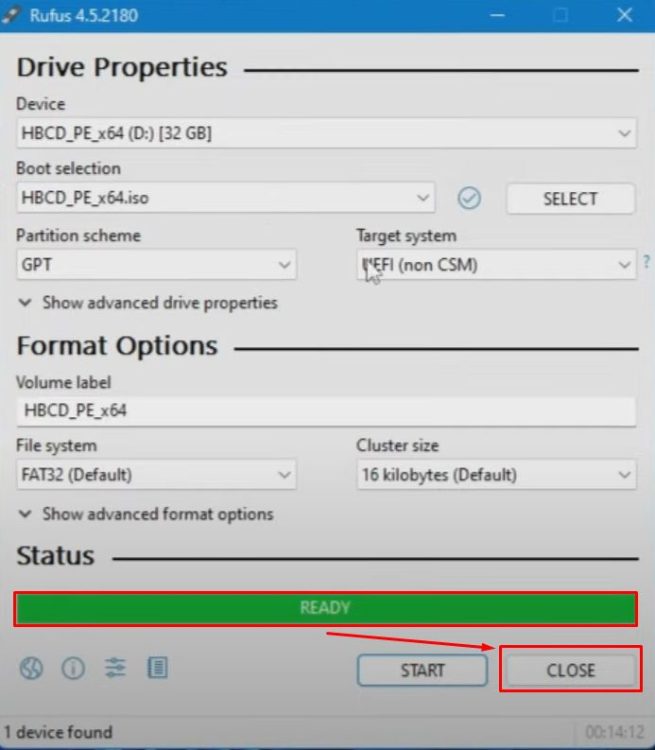
At the very top, in the Device section, it will automatically detect the USB drive that you’ve connected. You must have at least an 8 GB USB drive. Select the correct USB. Then, in the Boot Selection section, you need to select the ISO file. So once you have downloaded the Hiren’s ISO, click on Select.
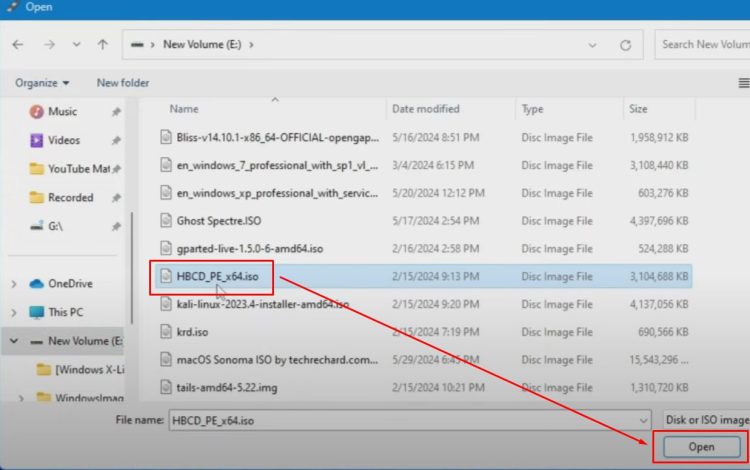
Navigate to where you downloaded it, select the ISO file, and click Open.
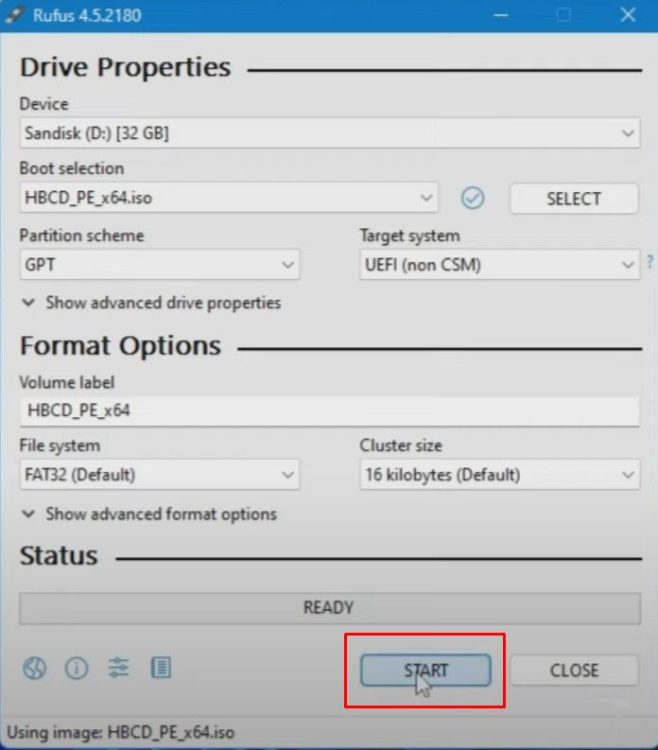
You can change the Volume Label if you want, or you can keep it as is. Finally, click on Start.
Important Warning: Data Erasure
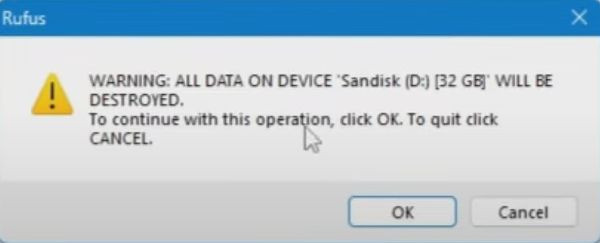
It will give you a warning that all data on the USB device will be erased, so make sure to back up any data before proceeding. Click OK, and it will take some time—probably a minute or two—until the bootable USB is created.
Booting from Hiren’s Bootable USB
Alright, the bootable USB is ready now. You can click Close.
If I bring up the File Explorer, you can see that this is now a Hiren’s Bootable USB, and all the required files are inside the USB.
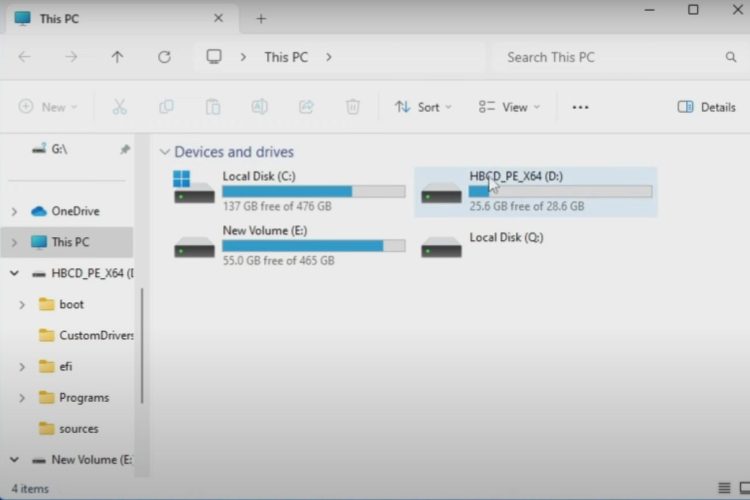
You are good to go! Just plug this bootable USB into the computer where you want to remove or reset the password.
Accessing the Advanced Options Menu
Now, on the same computer where I forgot the password, at the login screen, look for the Power icon in the bottom-right corner. From your keyboard, press and hold the Shift key, then while holding the Shift key, click the Power icon and select Restart.
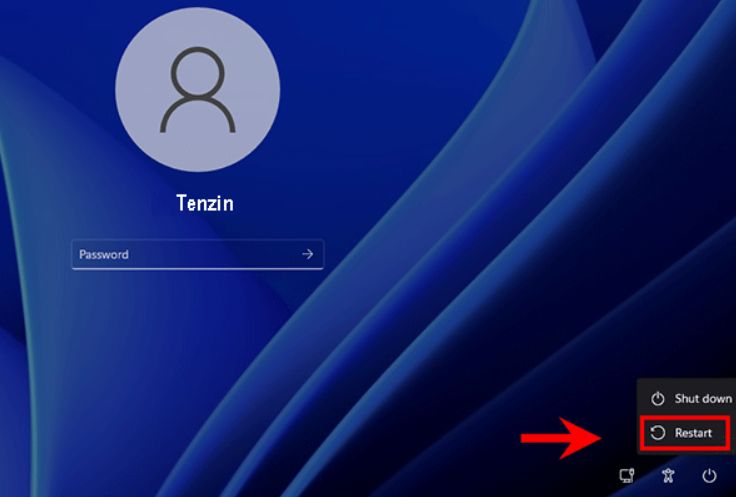
Click Restart Anyway. You can now release the Shift key. This will bring up the Advanced Options screen, where we can boot the computer through the BIOS.
Entering the BIOS
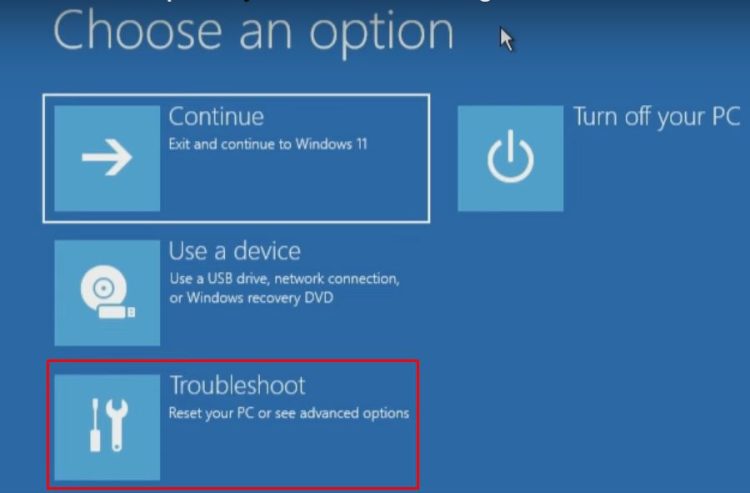
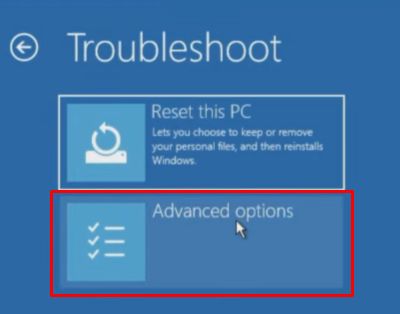
In the Advanced Options, select Troubleshoot.
Then click Advanced Options.
And then click UEFI Firmware Settings, which will take you to the BIOS.


If you want, you can also enter the BIOS using the appropriate shortcut key for your computer. Once in the BIOS, you need to boot from the USB device—the same USB device you created as the bootable Hiren’s USB.

Hit the Enter key, and it will start loading the files. It may take some time the first time you do this, so be patient.
Using Hiren’s Bootable USB to Reset the Password
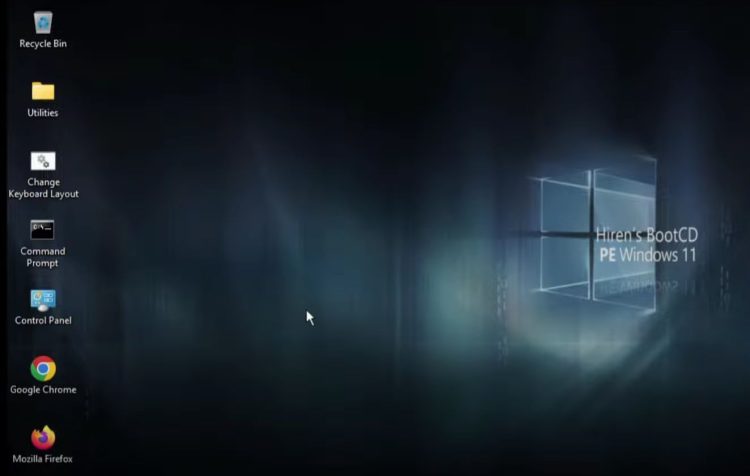
Great! Now you can see that we’ve successfully logged in using the Hiren’s Bootable USB, and it looks like a Windows 10 operating system.
Once you are here, click on the Windows icon, then click on All Programs. Look for Security, and under Security, find Password. Here you’ll find different kinds of software that can help reset or remove the password.
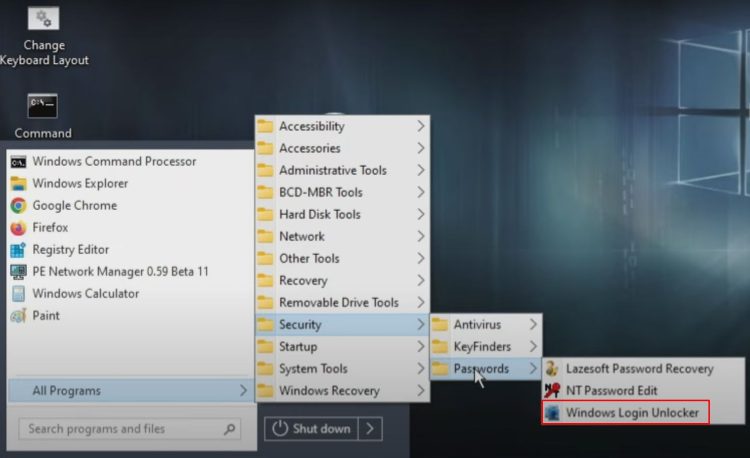
Choosing the Windows Login Unlocker
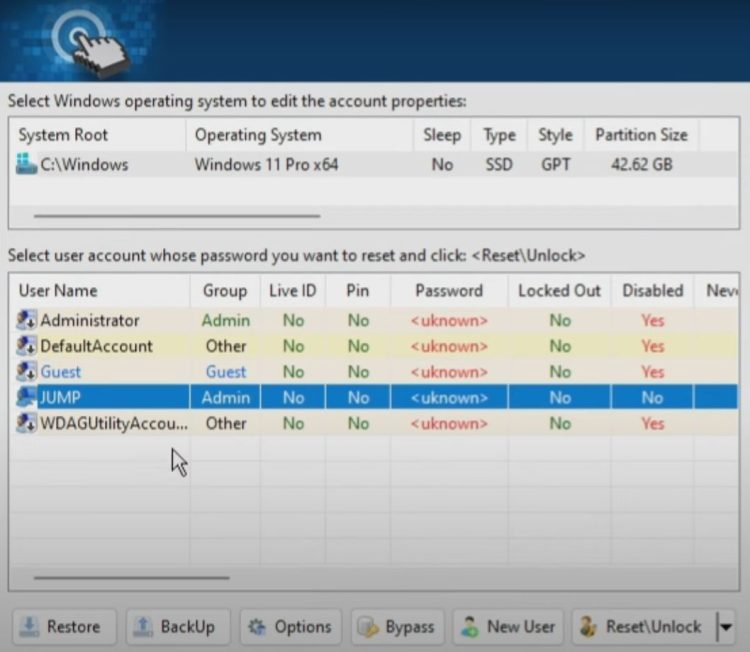
Look for Windows Login Unlocker—I find it to be the best. Click on it, and it will give you a dashboard. It will list all the user accounts created on your computer. Find the account for which you’ve forgotten the password or the one you want to remove. On my end, the account is named JUMP. I can select it, and now I get different options: I can restore, back up, bypass, create a new user, or reset/unlock the account.
Resetting the Password
You can also right-click to access these options, like Reset Password, Change Password, or Delete User.
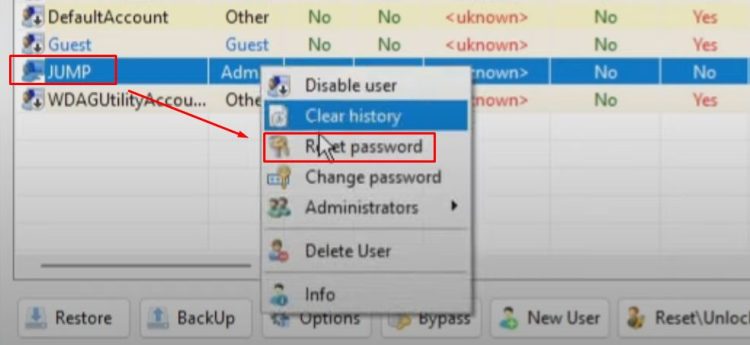
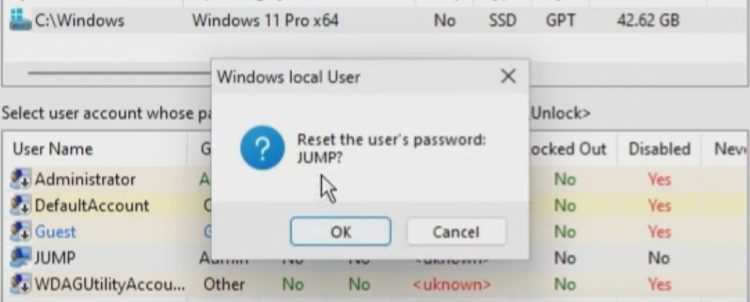
I want to reset the password, so I click on Reset Password, and it will ask to confirm resetting the password for the account JUMP. I’ll click OK.
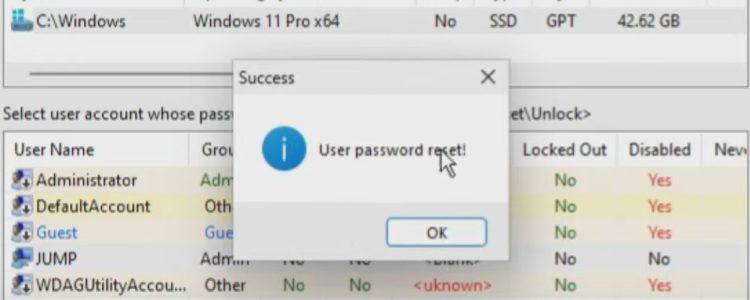
Bingo! The user password has been reset. Click OK, and now restart the computer.
Logging in Without a Password
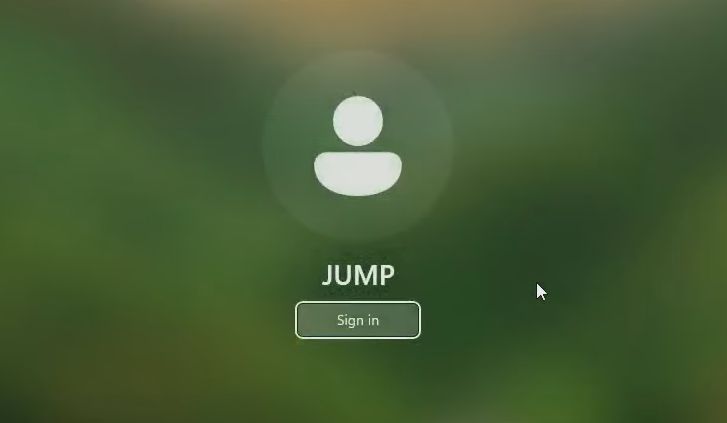
This time, when you get to the login screen, you’ll see the Sign In option, and it will no longer ask for a password. Let me click on Sign In, and great! Now I’m inside my desktop, and it’s not asking for any password or PIN.
Conclusion and Additional Tips
This is one of the best and easiest ways to reset or remove a password on Windows 10 or Windows 11 anytime in the future. It’s a good idea to create this bootable USB, as it can also help you fix many blue screen problems, recover data, and more. It’s always recommended to have this kind of USB handy, so you can reset or change the password on any computer anytime.
That’s all for today. Hopefully, you found this article helpful.
Awesome! Man!