Wondering how to securely erase an old computer so it’s safe to get rid of? In this article, I’ll show you how to create a USB stick that will let you wipe your old hard drive, making it nearly impossible for anyone to recover your private data. We’ll be using only free software. Let’s get started and find out how!
Downloading Darik’s Boot and Nuke (DBAN)
Now, what we’re going to need to do is grab a copy of Darik’s Boot and Nuke from SourceForge, right here.
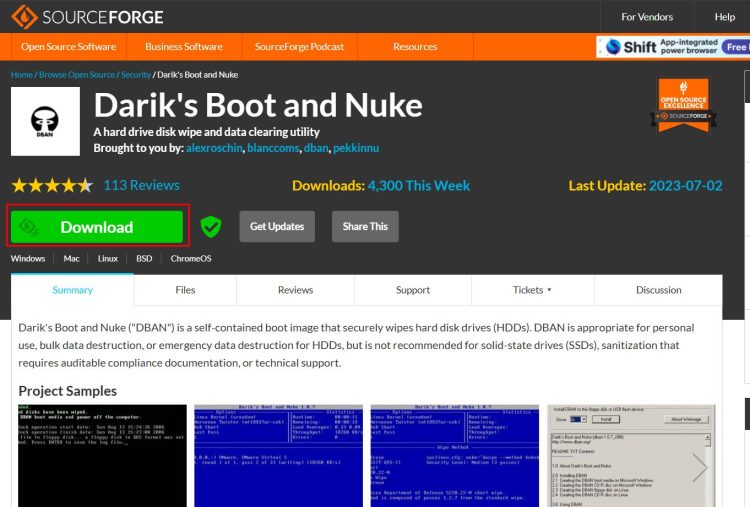
This is an ISO file, but we’re not going to burn it onto a disk or anything. I mean, you could burn it onto a CD if you wanted to put it into an older computer; that would work just fine.
Setting Up Rufus to Create a Bootable USB Stick
But what we can use instead is Rufus, which is a program that takes an ISO and writes it onto a USB stick so you can boot from it.
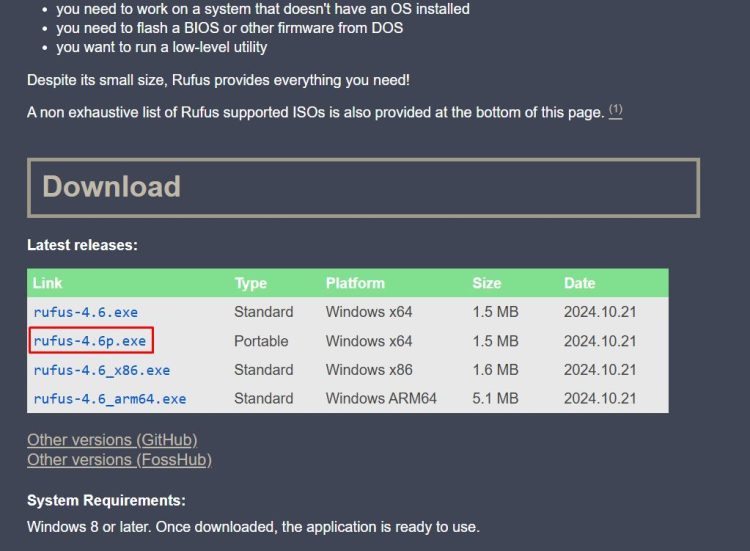
So, let’s go ahead and grab a copy of Rufus. I’m actually going to grab the portable version. If you want to install it on your computer, you can, but I’m just going to use the portable version, so I can just click it up here at the top, and it will open up.
Preparing and Selecting the ISO File
Now I’m going to select that file by clicking on “Select” right here.
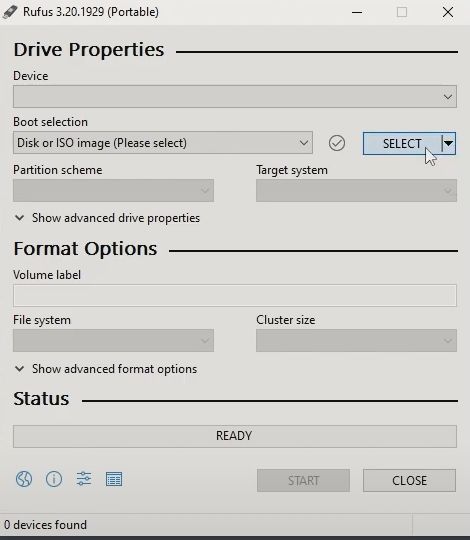
Аnd then I’ll choose dban-2.3.0_i586.iso (the file I just downloaded).
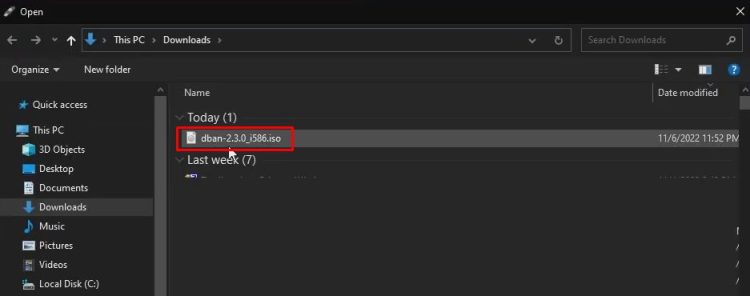
It’s right here in my downloads folder, or wherever you saved it. Just locate it.
Next, I’ll insert my USB stick. Rufus immediately discovered it—that’s my USB stick—so make sure your USB stick is selected.
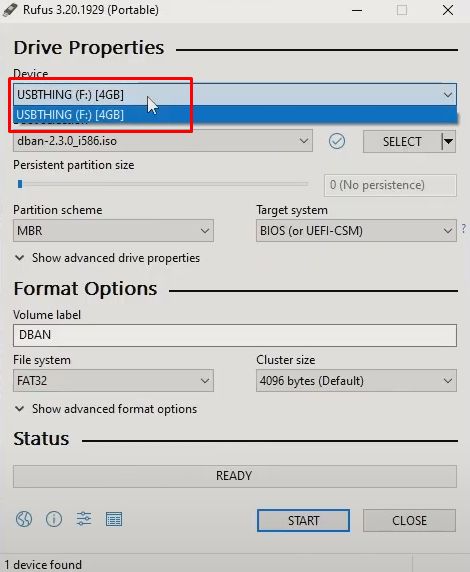
If you only have one inserted, that’s probably going to be the right one. I usually recommend having only one USB stick inserted just to avoid any mistakes. Rufus only shows USB sticks and won’t list regular hard drives, so there’s nothing to worry about.
Starting the USB Creation Process
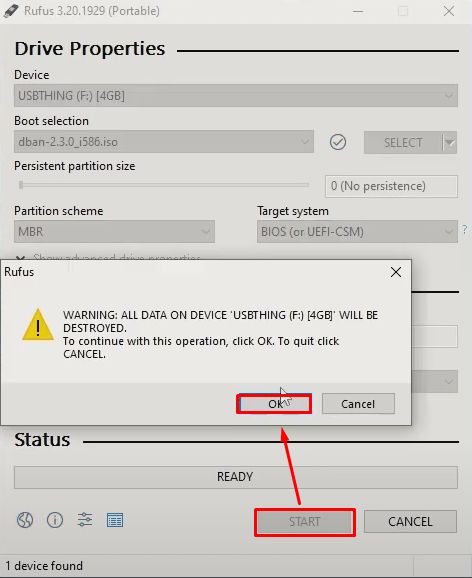
Click on “Start.” This will destroy all the data on the drive. Better check what’s on it first. Okay, just a bunch of drivers, nothing I need. So just make sure you don’t need anything on there before proceeding.
Wow, that was fast! Now I’ll take this USB out and plug it into my laptop to show you how it works. I’ll also go over the different algorithms it uses. This program can use four or five different algorithms, and I’ll explain which one is best.
Booting from the USB Stick
Alright, put the USB stick in, and make sure you can boot from it. On a Lenovo, you press F12. On your system, it might be F1 or F2, or you may need to go into the UEFI or BIOS to set it to boot from USB. Okay, I’m going to reboot my computer—yep, restart anyway—and I’ll start pressing F12 right now. Press whatever button you need to select your boot device.
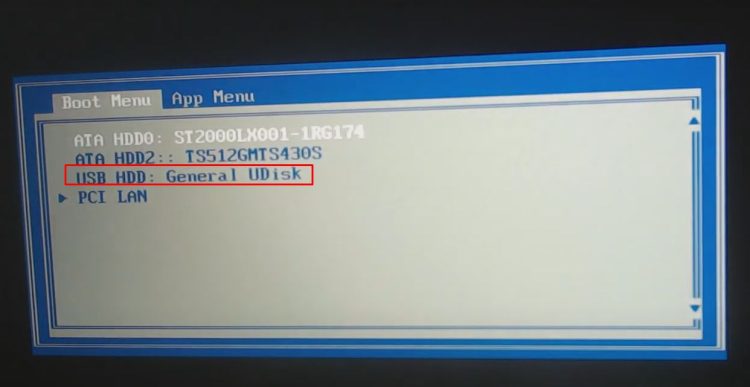
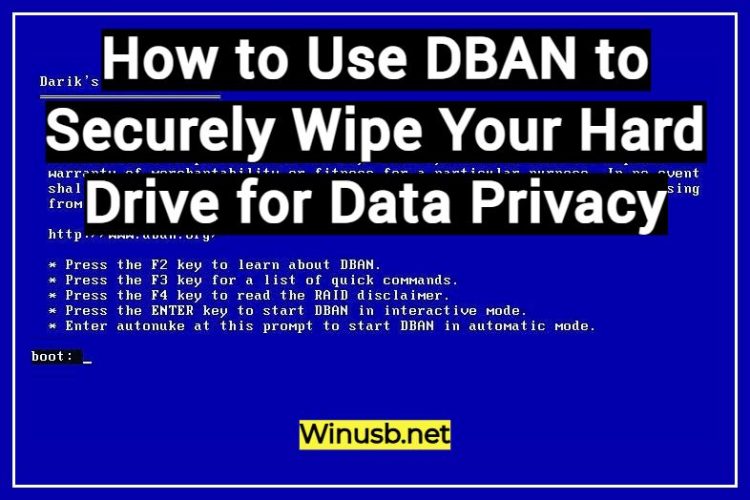
There we go! This is Darik’s Boot and Nuke. We’ll just press Enter to get into it.
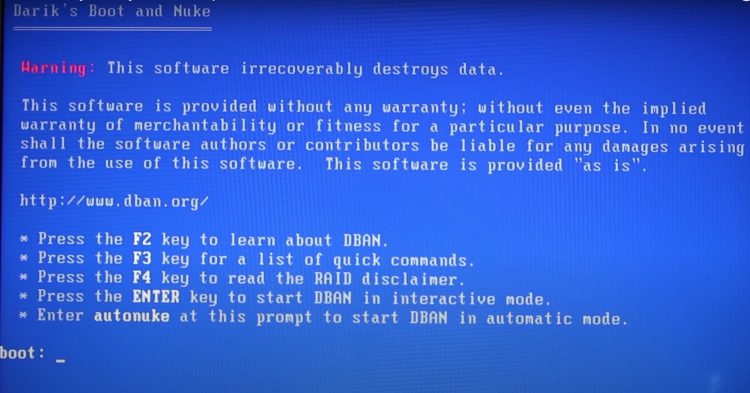
It might take a few minutes while it scans everything, so just give it a moment.
Navigating DBAN and Selecting the Drive
Here are my drives: this is my main hard drive, and this is the one I want to erase. It’s already been erased, but I’m doing this as a demonstration. So, I’ll select this drive by pressing the Spacebar.
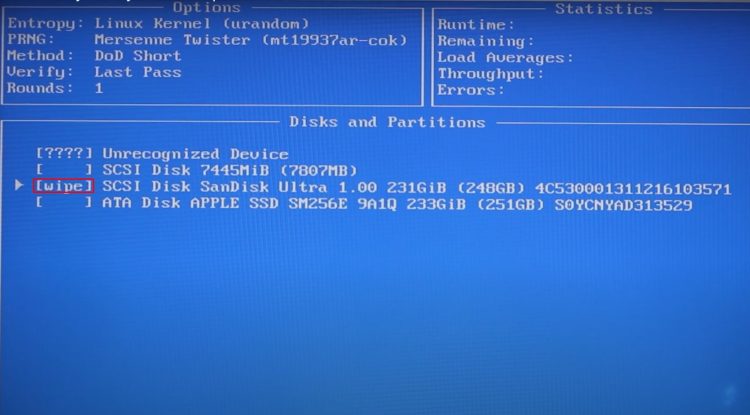
Choosing a Secure Wiping Algorithm
Now we need to pick our method, so press “M.” Here are the different options.
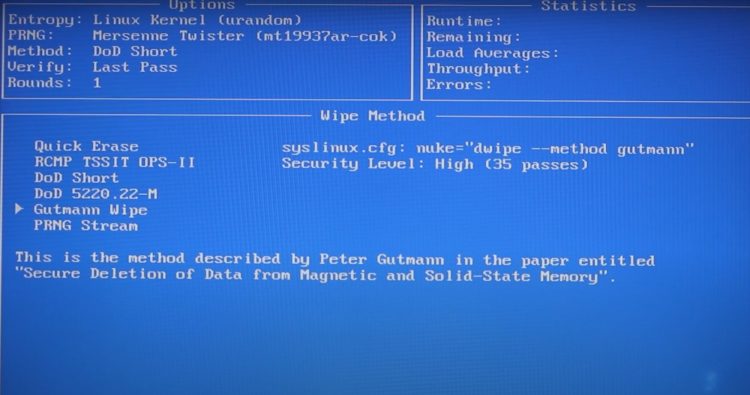
The default is DoD Short, which works fine, but Quick Erase is basically like going into the command prompt, opening DiskPart, and typing clean all; it overwrites the entire disk with zeros. If you want complete security, I recommend the DoD 5220.22-M method. It does a more thorough job with three passes: first with zeros, then with ones, and finally with random data.
The “Short” version of this does these three passes once, while the full version does them twice plus a final pass, so it takes about seven times longer than a quick overwrite.
Another good option is “PRNG Stream,” which is similar to Quick Erase but more secure since it writes random data instead of all zeros. It’s harder to recover data from this method. For most people, Quick Erase is likely enough, but if you need more security, choose one of the other options.
Starting the Wiping Process
Just press the Spacebar to select that option, and then we can start wiping.
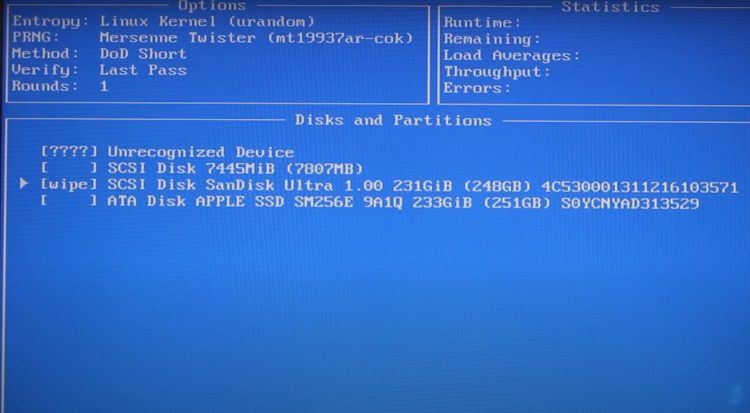
Press F10 to begin the procedure.

Final Steps and Additional Security Tips
When it’s complete, turn off the computer. Your drive should now be safely wiped, ready for disposal, whether you plan to sell or recycle your machine. Once you’ve finished, store the DBAN drive somewhere safe and out of reach—or better yet, erase it—to avoid accidentally wiping another computer in the future.
And if you need an extra level of security, you can physically destroy the drive.
