Today, we’ll be installing Debian 12 Bookworm on a storage device of your choice.
Downloading Debian and Balena Etcher
On the Debian website, search for the Download button.
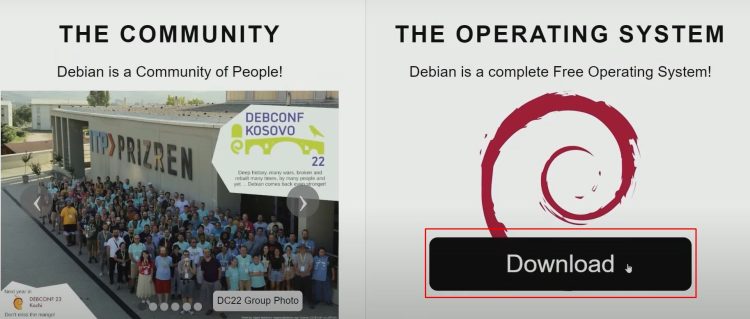
You can explore the site, but what we’re looking for is the Download link, which I see right here. When you click the Download button, the download should start automatically. If it doesn’t, you can manually select the Debian 12 AMD64 netinst ISO.
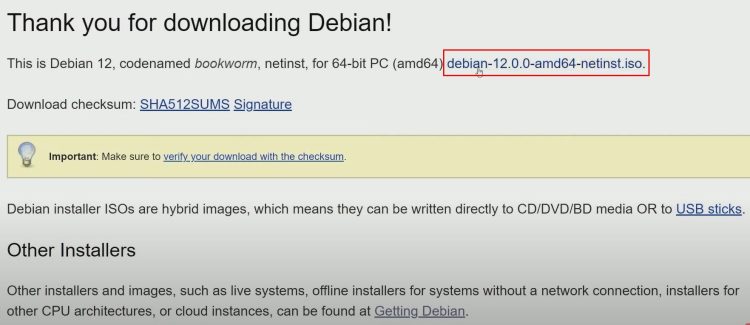
This is suitable for 64-bit processors. Note that since this is a net installer, you’ll need an active internet connection during the installation.
Once the download is complete, save the file and proceed to create a bootable USB. For this, I’ll use the Balena Etcher app, a simple tool available for Linux, Mac, or Windows. You can download it for free from their website.
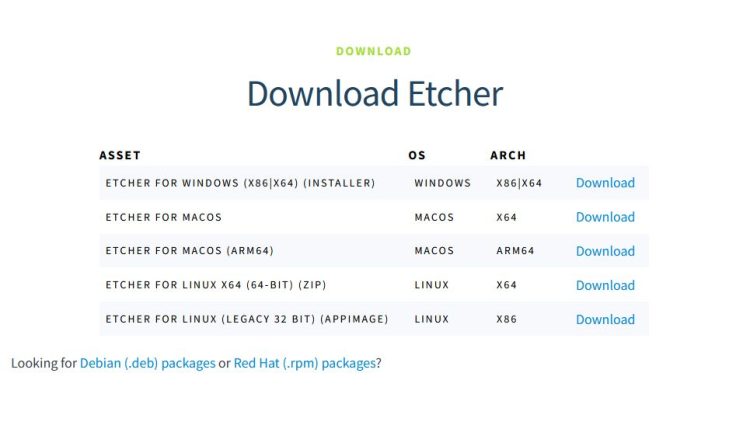
Alternatively, you can use other applications like UNetbootin or Rufus if you prefer.
Creating the Bootable USB
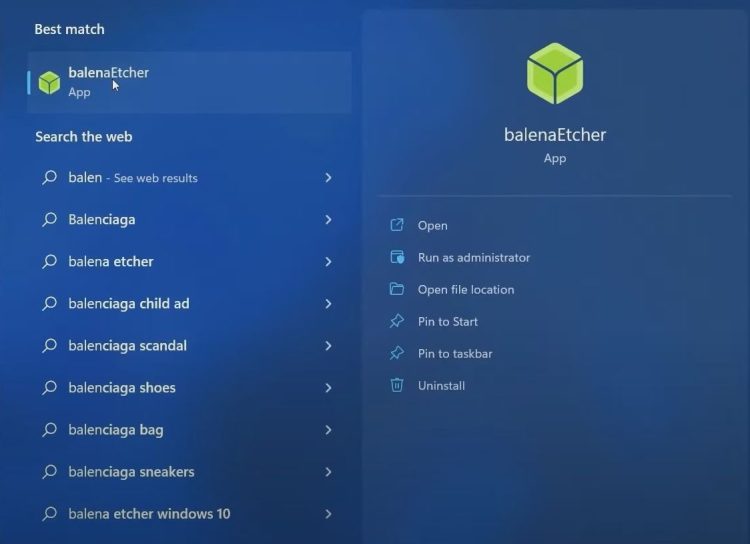
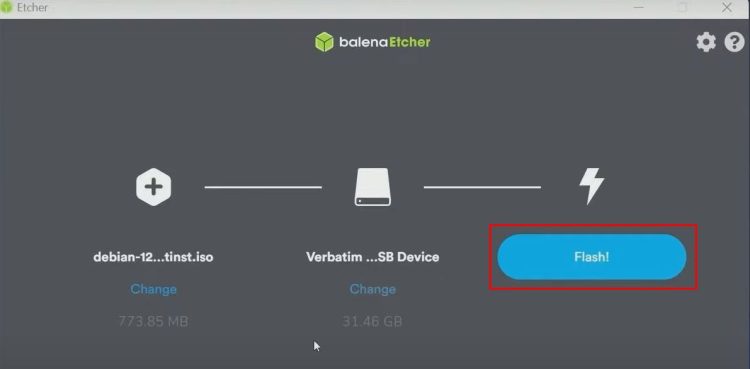
- Open Balena Etcher.
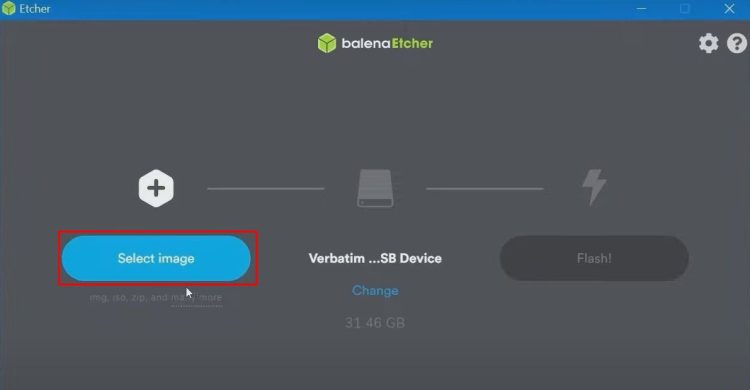
- Select the downloaded Debian ISO file.
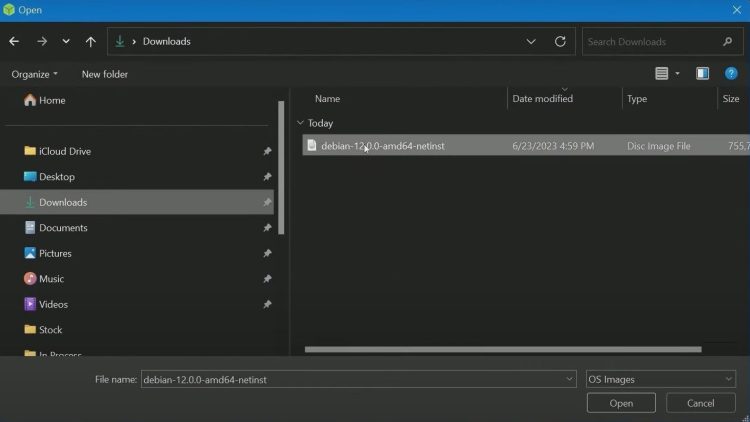
- For example, mine is the Debian 12 AMD64 netinst ISO located in the Downloads folder.
- Choose the USB drive you want to flash. Ensure you select the correct one, as the process will erase all data on the selected device.
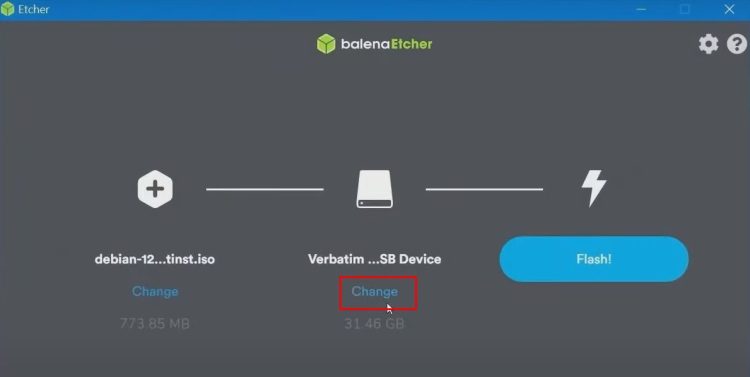
- Click Flash.
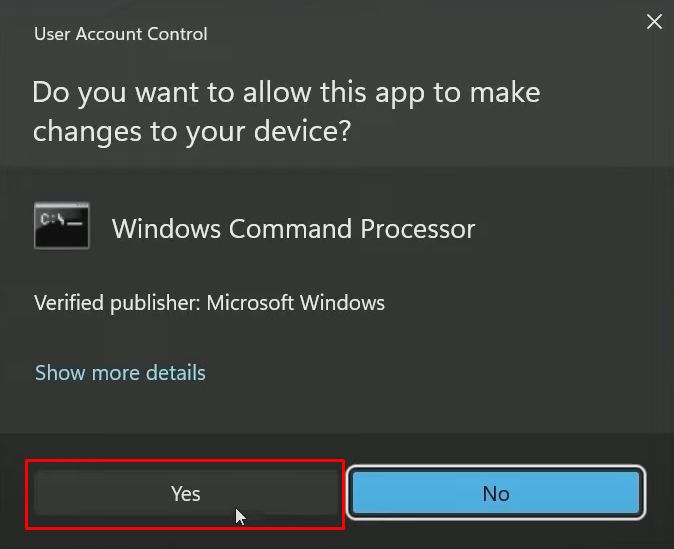
- You’ll be prompted to provide administrative privileges for the process to start.
- Click Starting
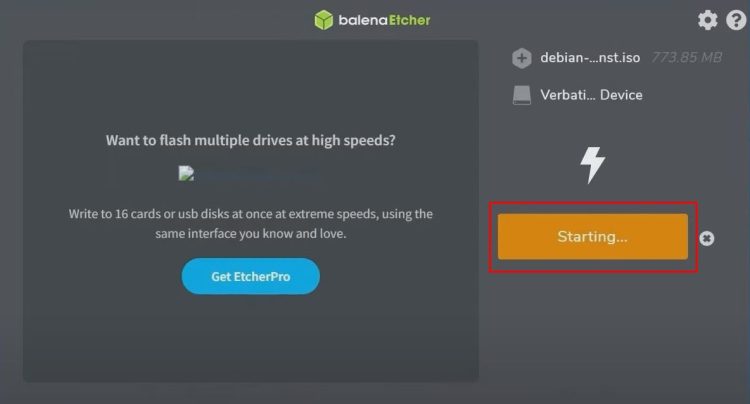
The flashing process will take a few minutes. Once completed, Balena Etcher will notify you with a “Flash Complete” message. Eject the USB safely, as it’s now ready for installation.
Booting and Configuring BIOS
Insert the bootable USB into the computer where you want to install Debian. To boot from the USB:
- Restart the computer and enter the BIOS/UEFI settings. This typically involves pressing a key like F2, F8, F12, or Delete during startup (check your motherboard’s documentation for details).
- In the BIOS/UEFI, set the USB drive as the first boot option in the Boot Priority menu.
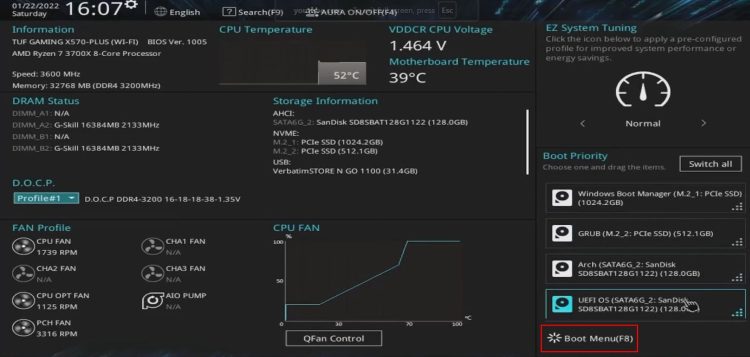
- Select your boot option number one to be the storage disk.
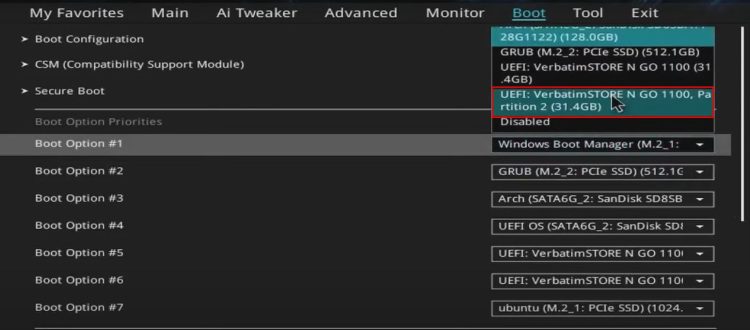
- Disable Secure Boot and Fast Boot if necessary, as these can interfere with Linux installations.
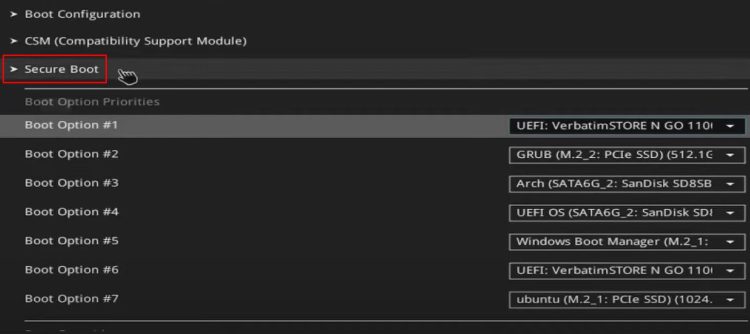
- Save changes and exit the BIOS.
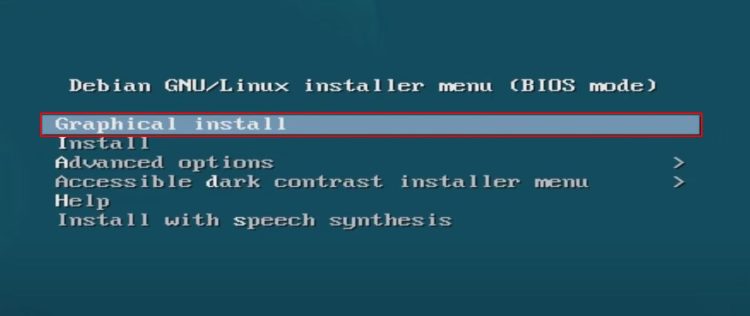
When the system restarts, it should boot from the USB. You’ll see the Debian Installer menu. Select Graphical Install to begin.
Installation Steps
- Language. Choose your preferred language.
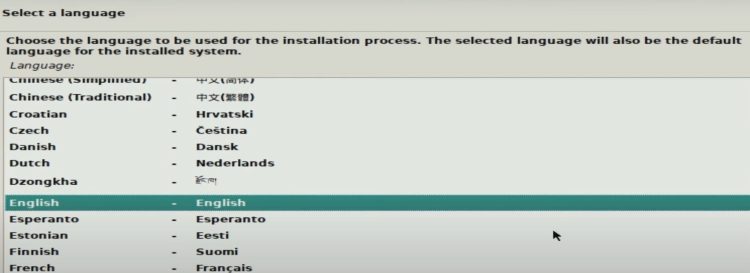
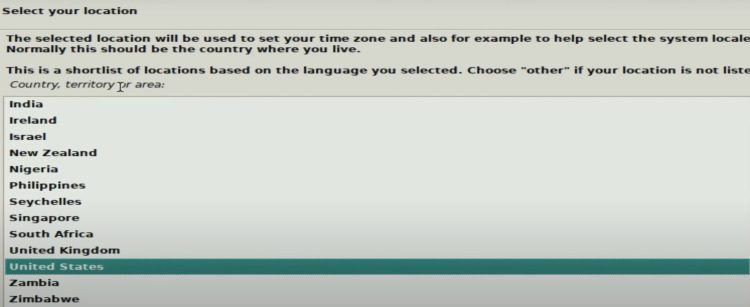
- Location. Choose your preferred location.
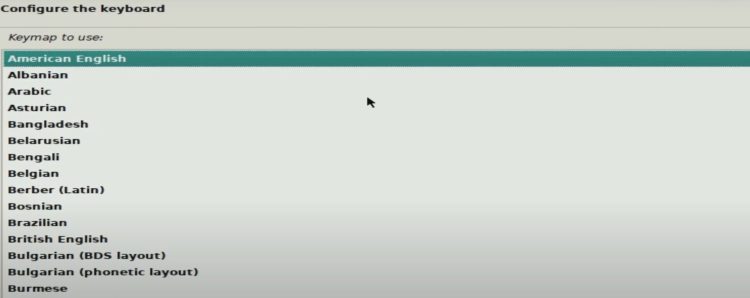
- Keyboard Configuration. Select your keyboard layout.
- Network Configuration. Ensure your system is connected to the internet (via Ethernet or Wi-Fi). The installer will check for a connection.
- Hostname and Domain. Enter a hostname for your computer (e.g.,
nick). You can skip the domain name unless you have one. 
- User Accounts:
- Root Account. Leave the password field empty to disable the root account and grant administrative privileges to the initial user account via
sudo.
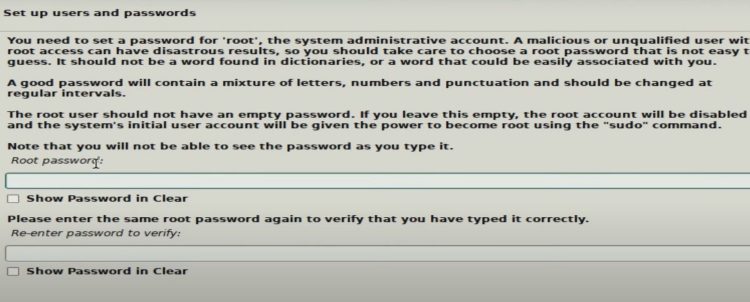
- New User. Enter a full name, username, and password for the new user account.

- Root Account. Leave the password field empty to disable the root account and grant administrative privileges to the initial user account via
- Time Zone. Choose your time zone.

Disk Partitioning
- Use the Guided – Use Entire Disk option for simplicity (recommended for new users).

- Select the correct disk for installation. Ensure the selected disk is empty or contains data you’re willing to overwrite.

- Choose the All files in one partition option unless you have a specific partitioning scheme in mind.

Review the partitioning layout and click Finish partitioning and write changes to disk and Continue.
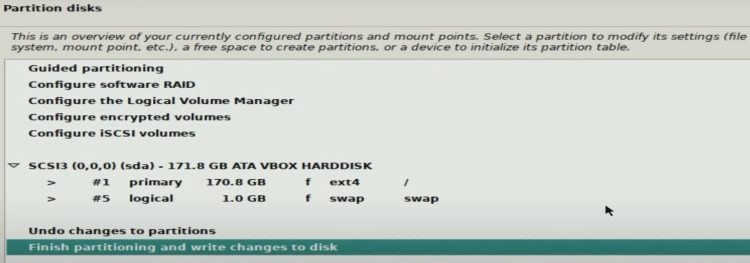
This step erases the disk and sets up the necessary partitions for Debian.

Installing the Base System
The installer will now copy the base system files and configure essential packages. This process may take several minutes.

Once done:
- Media Check. If prompted, insert any additional installation media (e.g., USB/CD/DVD) for extra firmware or drivers.

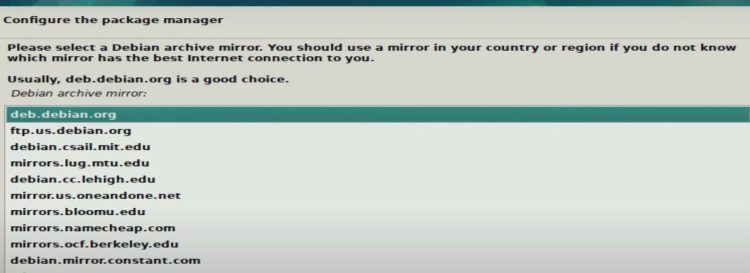
- Package Manager Configuration. Select the nearest mirror to your location to download additional packages during installation.
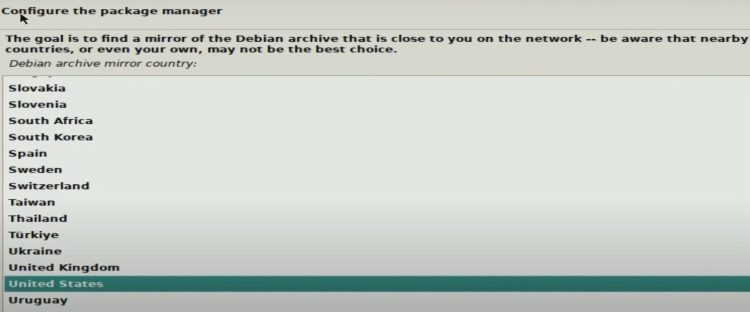
Since I’m in the US, I’ll continue with that location. Next, you can select a mirror close to your region or area. Look through the available mirrors, choose one that works for you, and then hit Continue.
If you have any proxy information, you can enter it in the following step.

I don’t have a proxy, so I’ll leave this field blank and hit Continue. Now the package manager is configuring some additional packages, including extra software downloaded over the internet. This is why having an internet connection is crucial during installation.
Popularity Contest
You’ll be asked whether to participate in the Popularity Contest, which anonymously collects data about the packages you use.

I’ll select No and hit Continue.
Software Selection
Next, you’ll see the Software Selection screen. This is where you can choose additional packages to install. By default, the Debian Desktop Environment is selected with GNOME as the default desktop environment.
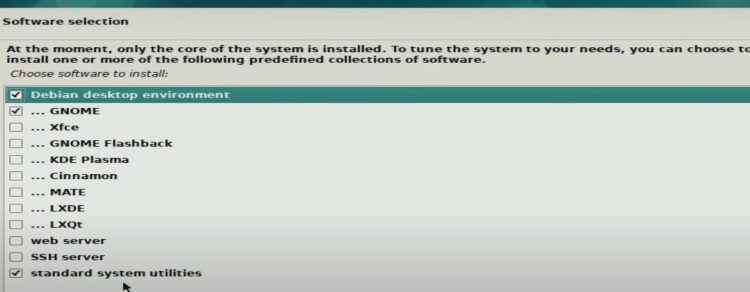
If you’re unfamiliar with desktop environments, you may want to research them because they determine the look and feel of your system. There are several options listed, including popular ones like XFCE. If you want to use a different desktop environment, deselect GNOME and select your preferred option.
I’ll stick with GNOME and keep the standard system utilities checked, then hit Continue. The installer will begin retrieving files and installing additional software. There are around 1,400 packages to install, so this step may take some time depending on your network speed and computer performance. Expect this to take anywhere from 10 to 45 minutes.
GRUB Bootloader Installation

Next, you’ll be prompted to install the GRUB bootloader. GRUB allows you to choose which operating system to boot into. Since Debian will be the only operating system on my system, I’ll select Yes to install it and hit Continue.
When asked where to install the GRUB bootloader, select the appropriate drive (the one you formatted earlier). Hit Continue, and the bootloader installation will finish shortly.

Final Steps
Once the installation is complete, you’ll see a message instructing you to remove your installation media. This refers to the USB drive you used for the installation. Remove it, or the computer may boot back into the installer.

Before booting into your new system, make sure to:
- Disable Secure Boot and Fast Boot in the BIOS/UEFI settings, as these can cause issues when booting into Linux.
- Set the boot priority so that the disk with Debian installed is the first device to boot.
First Boot

After removing the installation media and restarting your computer, you should see the GRUB screen. If there’s a timeout, your system may boot directly into Debian. If you see GRUB, select Debian GNU/Linux and press Enter.
Congratulations! You’ve reached the login screen. Select the user account you created earlier, type in the password, and log in.
You’ve successfully installed Debian 12 Bookworm on your computer. Now, it’s time to explore and enjoy your new system! Feel free to experiment and join the Linux community for support. Happy computing!
